Setting Up Matomo for Web Traffic Analysis on My Personal Website
As I continue to refine my personal website, I’ve become increasingly curious about whether my site is getting any traffic and if it’s helpful to others. To gain insight, I decided to add a tracking component to monitor website visits. After evaluating several options, I chose Matomo as my web analytics tool to track activity on both my homepage, www.ruianding.com, and my WordPress blog, www.ruianding.com/blog.
Here’s a detailed breakdown of how I configured Matomo.
1. Preparing the Server Environment
First, make sure the server environment has the necessary components (I already had these installed, so I skipped this step):
- Apache Web Server
- PHP (version 7.4 or higher)
- MySQL or MariaDB database
2. Download and Install Matomo
2.1 Download Matomo
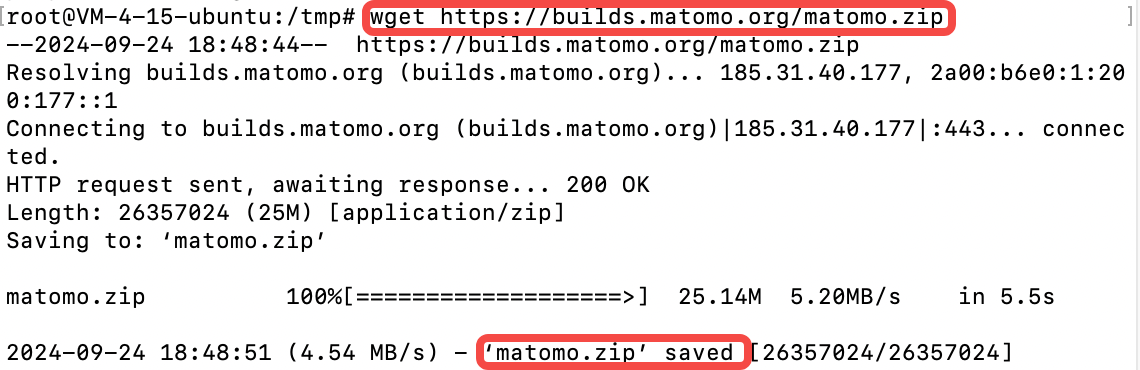
Download the latest version of Matomo using the following command:
cd /tmp
wget https://builds.matomo.org/matomo.zip
2.2 Extract and Move Matomo Files
Unzip the Matomo archive and move the files to the web directory /var/www/matomo:
sudo unzip matomo.zip
sudo mv matomo /var/www/matomo

2.3 Set Permissions
Set the appropriate ownership and permissions for the Matomo directory:
sudo chown -R www-data:www-data /var/www/matomo
sudo find /var/www/matomo -type d -exec chmod 755 {} \;
sudo find /var/www/matomo -type f -exec chmod 644 {} \;
3. Configure Apache Virtual Host
3.1 Create a Virtual Host for Matomo
Create a new virtual host configuration file for Matomo:
sudo vi /etc/apache2/sites-available/matomo.conf
Add the following configuration:
<VirtualHost *:80>
    ServerName matomo.ruianding.com
    DocumentRoot /var/www/matomo
    <Directory /var/www/matomo>
        Options Indexes FollowSymLinks
        AllowOverride All
        Require all granted
    </Directory>
    ErrorLog ${APACHE_LOG_DIR}/matomo_app_error.log
    CustomLog ${APACHE_LOG_DIR}/matomo_app_access.log combined
</VirtualHost>
3.2 Enable the Virtual Host and Mod_Rewrite
Enable the site and the mod_rewrite module:
sudo a2ensite matomo.conf
sudo a2enmod rewrite
3.3 Restart Apache
Restart Apache to apply the changes:
sudo systemctl restart apache2
3.4 Update Local Hosts File for Testing
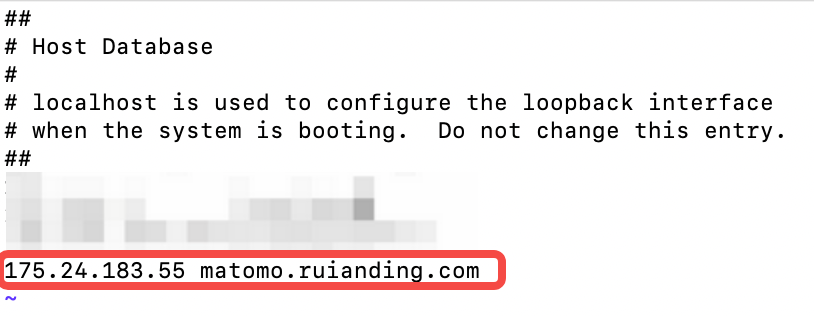
As I’d like testing locally first, I updated the /etc/hosts file to point to my server’s IP:
sudo vi /etc/hosts
Add the following line:
server_ip matomo.ruianding.com
3.5 Handling Matomo Access Issue Due to Proxy
Initially, I couldn’t access Matomo, but I discovered this was due to a proxy interfering with my local host settings.
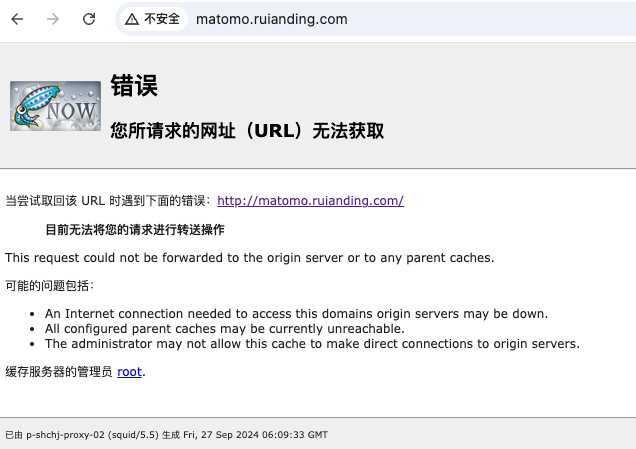
Disconnecting the proxy allowed the site to load correctly, teaching me that the proxy overrides DNS resolution for the browser, unlike the ping command, which works independently of the proxy settings.
4. Create a Database and User for Matomo
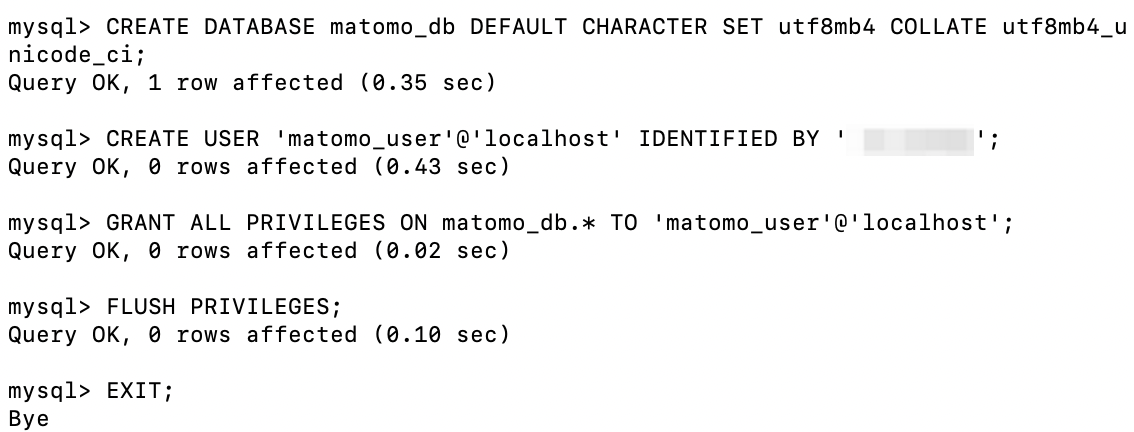
Log into MySQL and create a database and user for Matomo:
sudo mysql -u root -p
In the MySQL console:
CREATE DATABASE matomo_db DEFAULT CHARACTER SET utf8mb4 COLLATE utf8mb4_unicode_ci;
CREATE USER 'matomo_user'@'localhost' IDENTIFIED BY 'password';
GRANT ALL PRIVILEGES ON matomo_db.* TO 'matomo_user'@'localhost';
FLUSH PRIVILEGES;
EXIT;
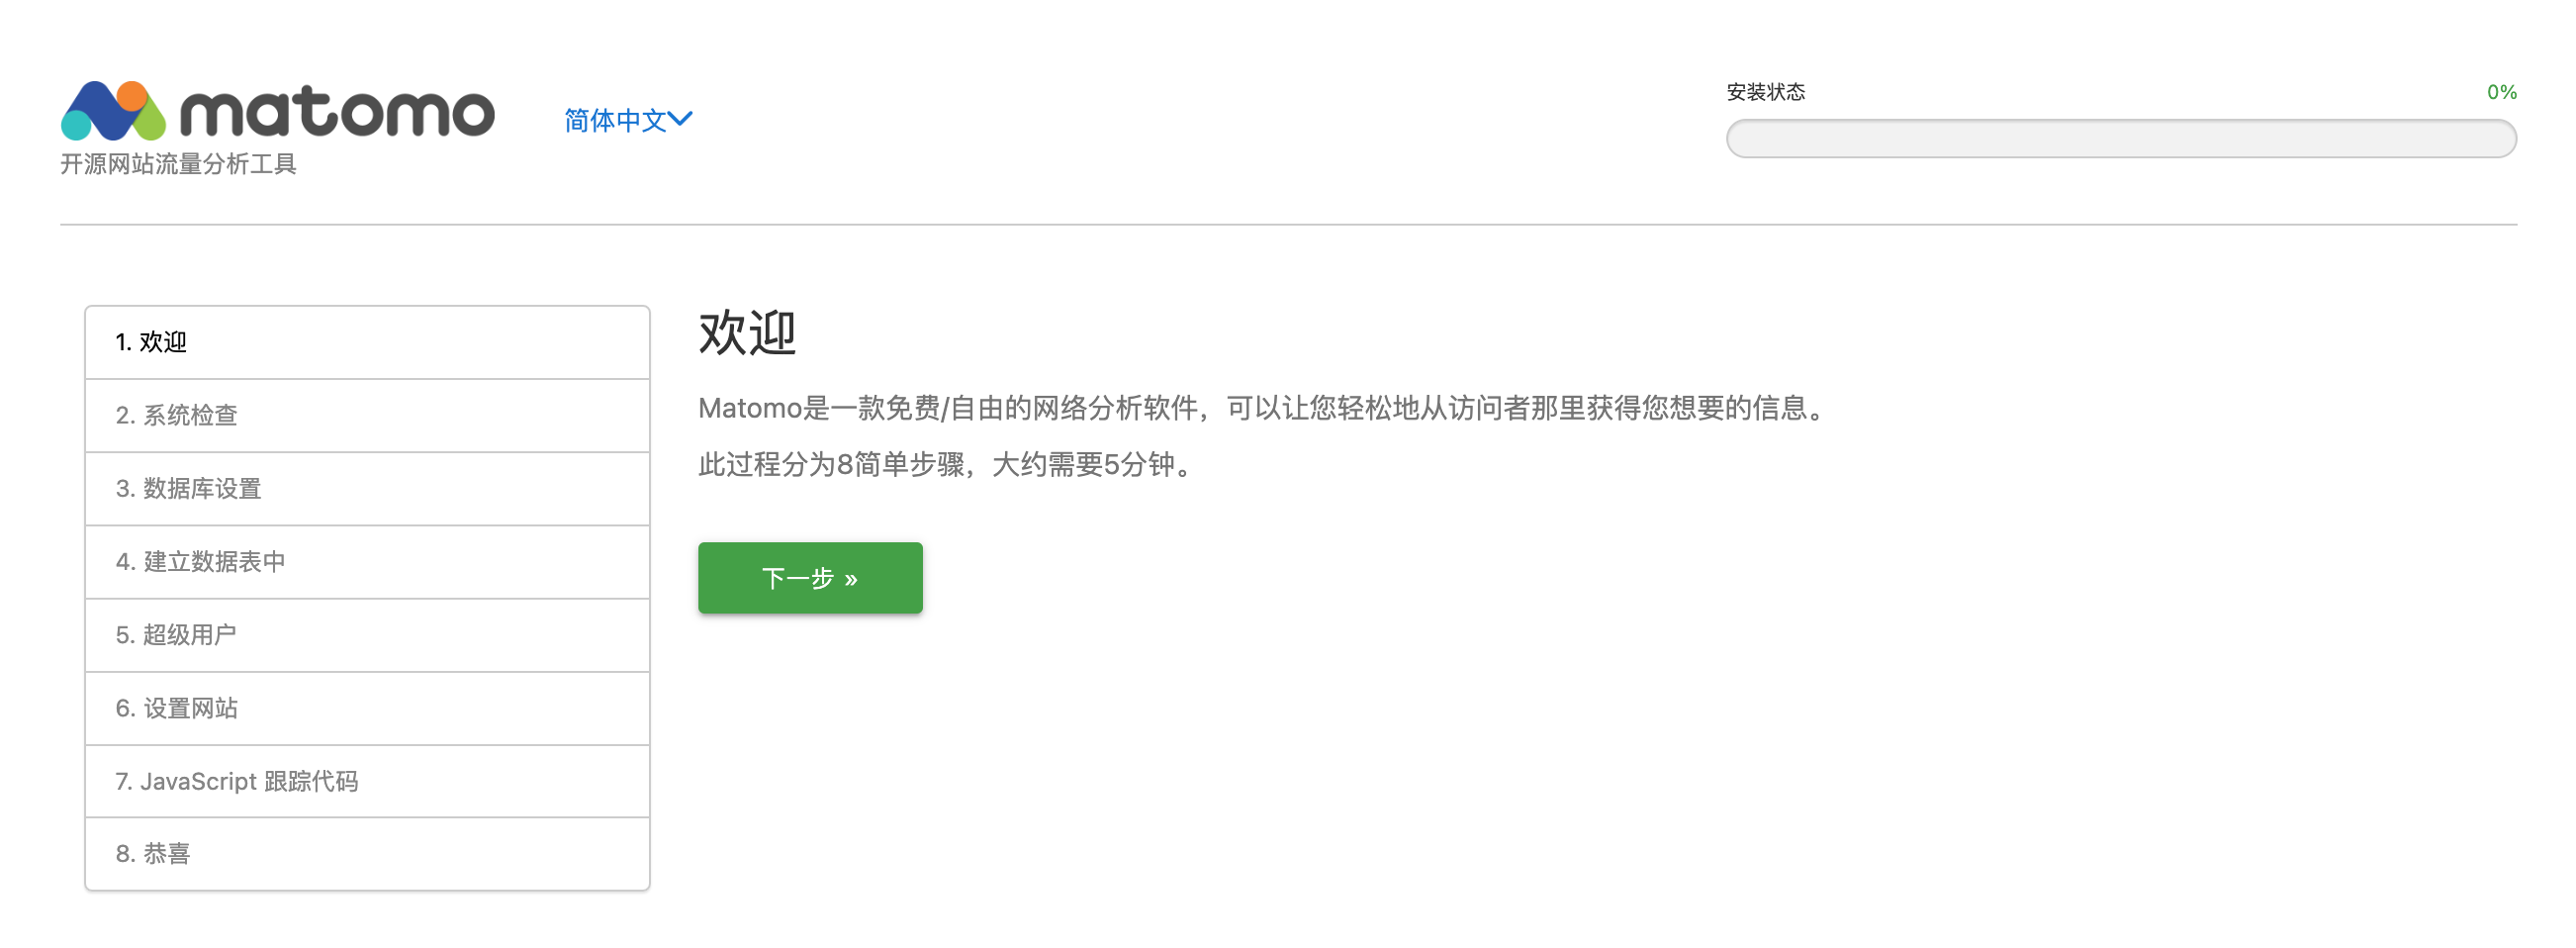
5. Complete the Matomo Web Installer
Once your server is ready, access the Matomo installation wizard by visiting http://matomo.ruianding.com in my browser. I followed these steps:
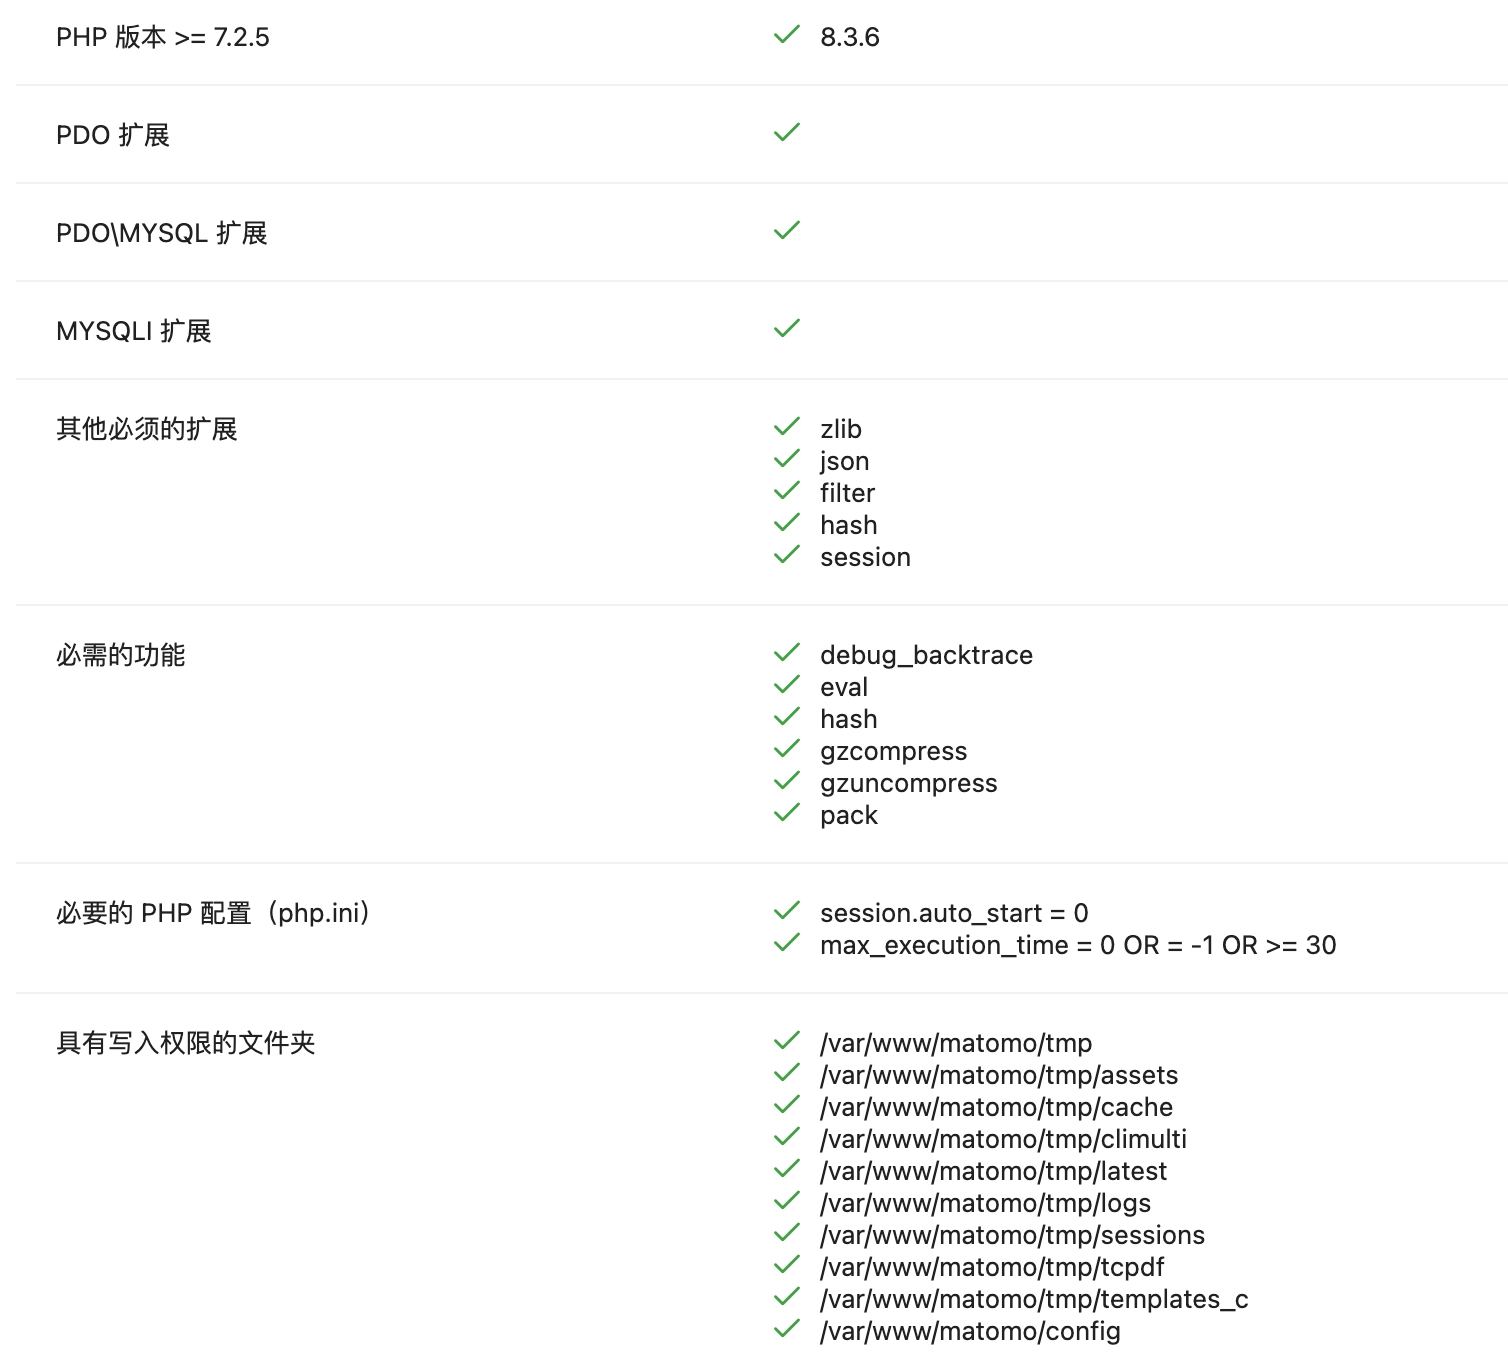
1. System Check: Matomo will verify if your system meets the requirements.
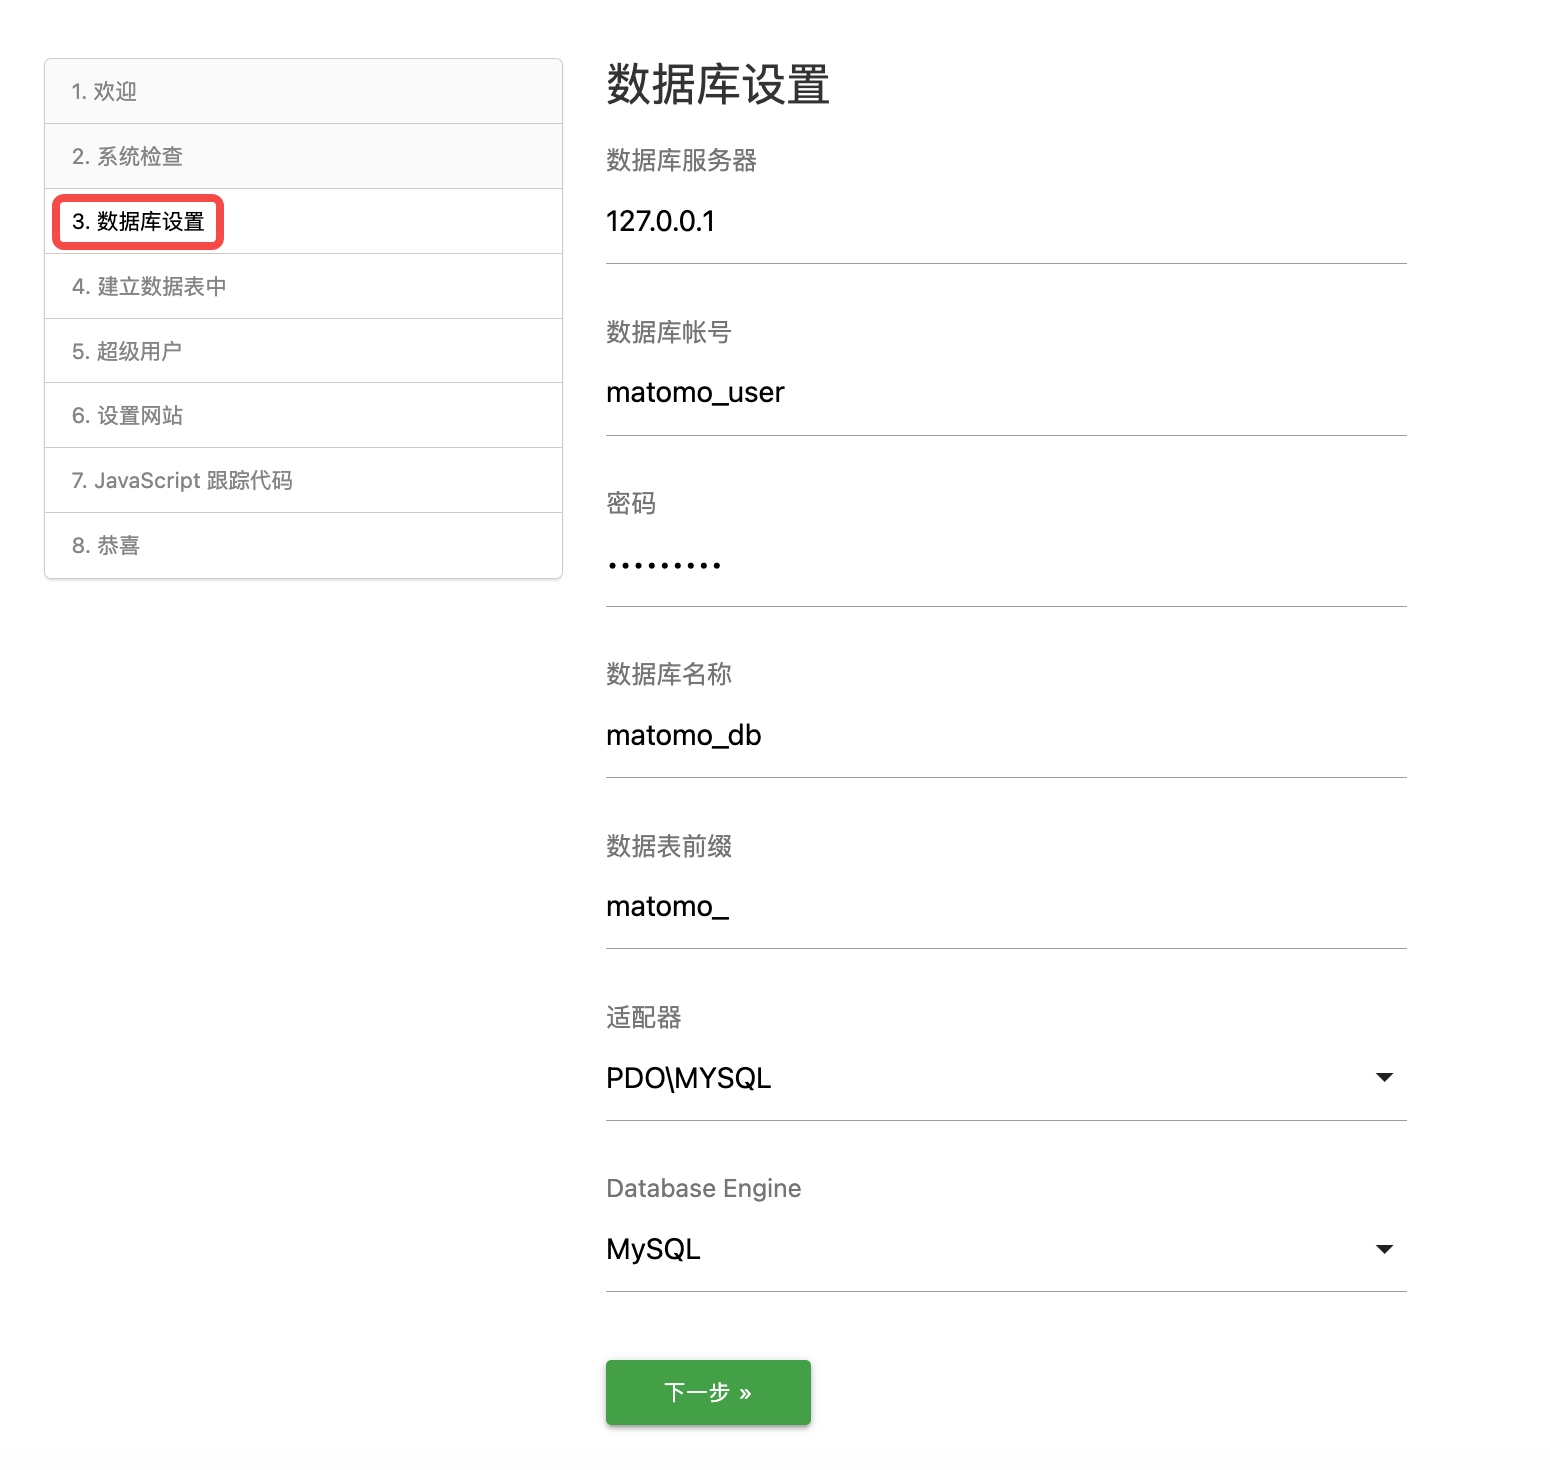
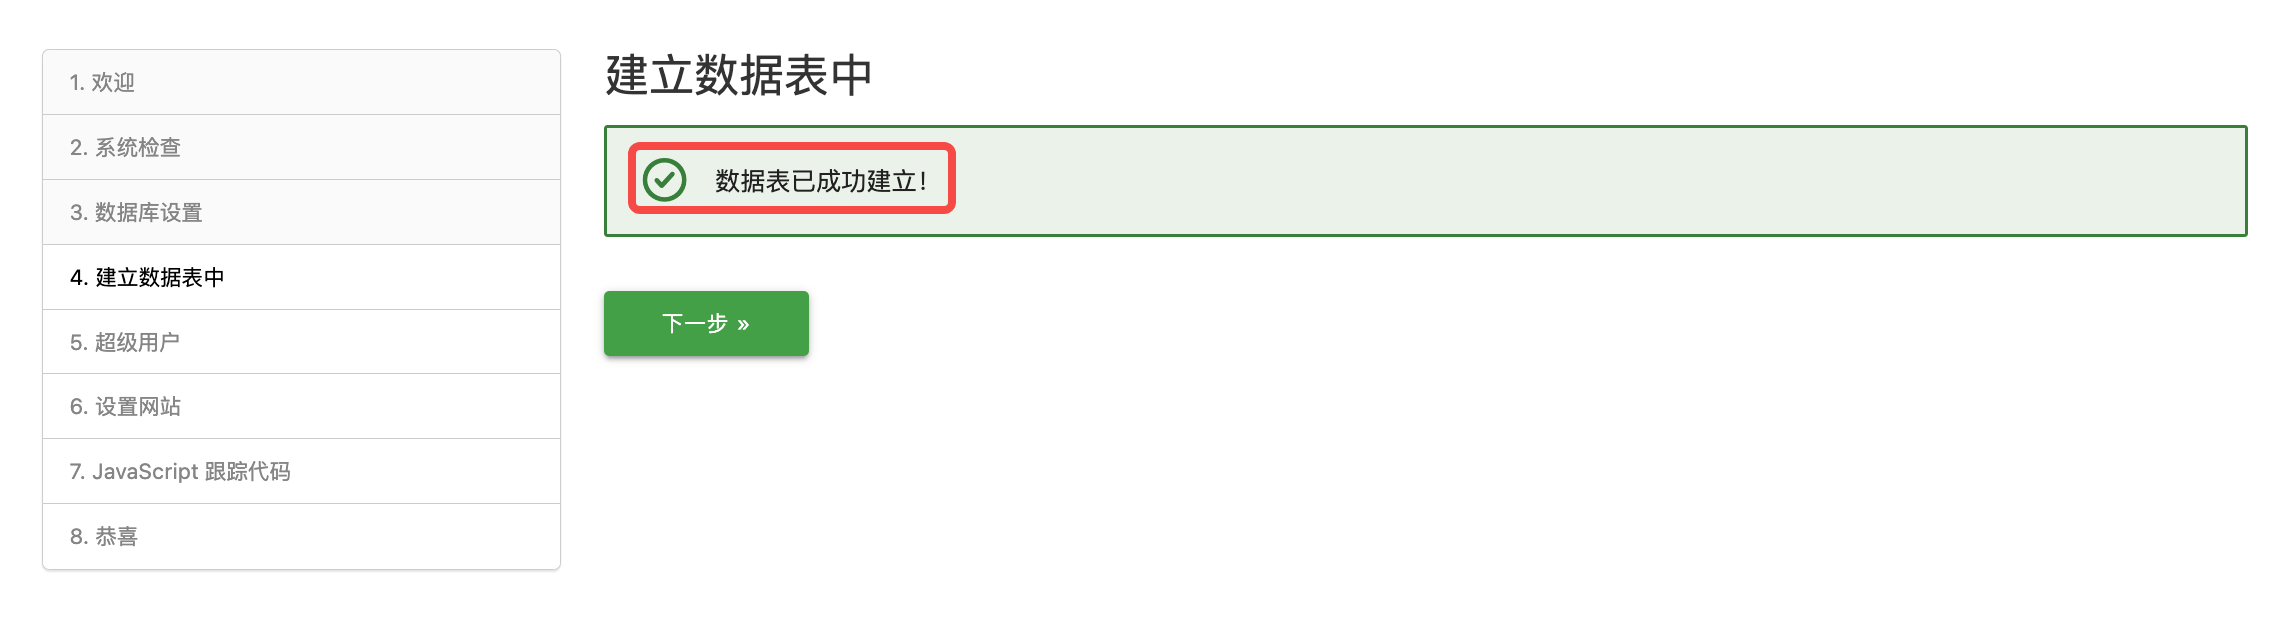
2. Database Setup: Enter the MySQL credentials.
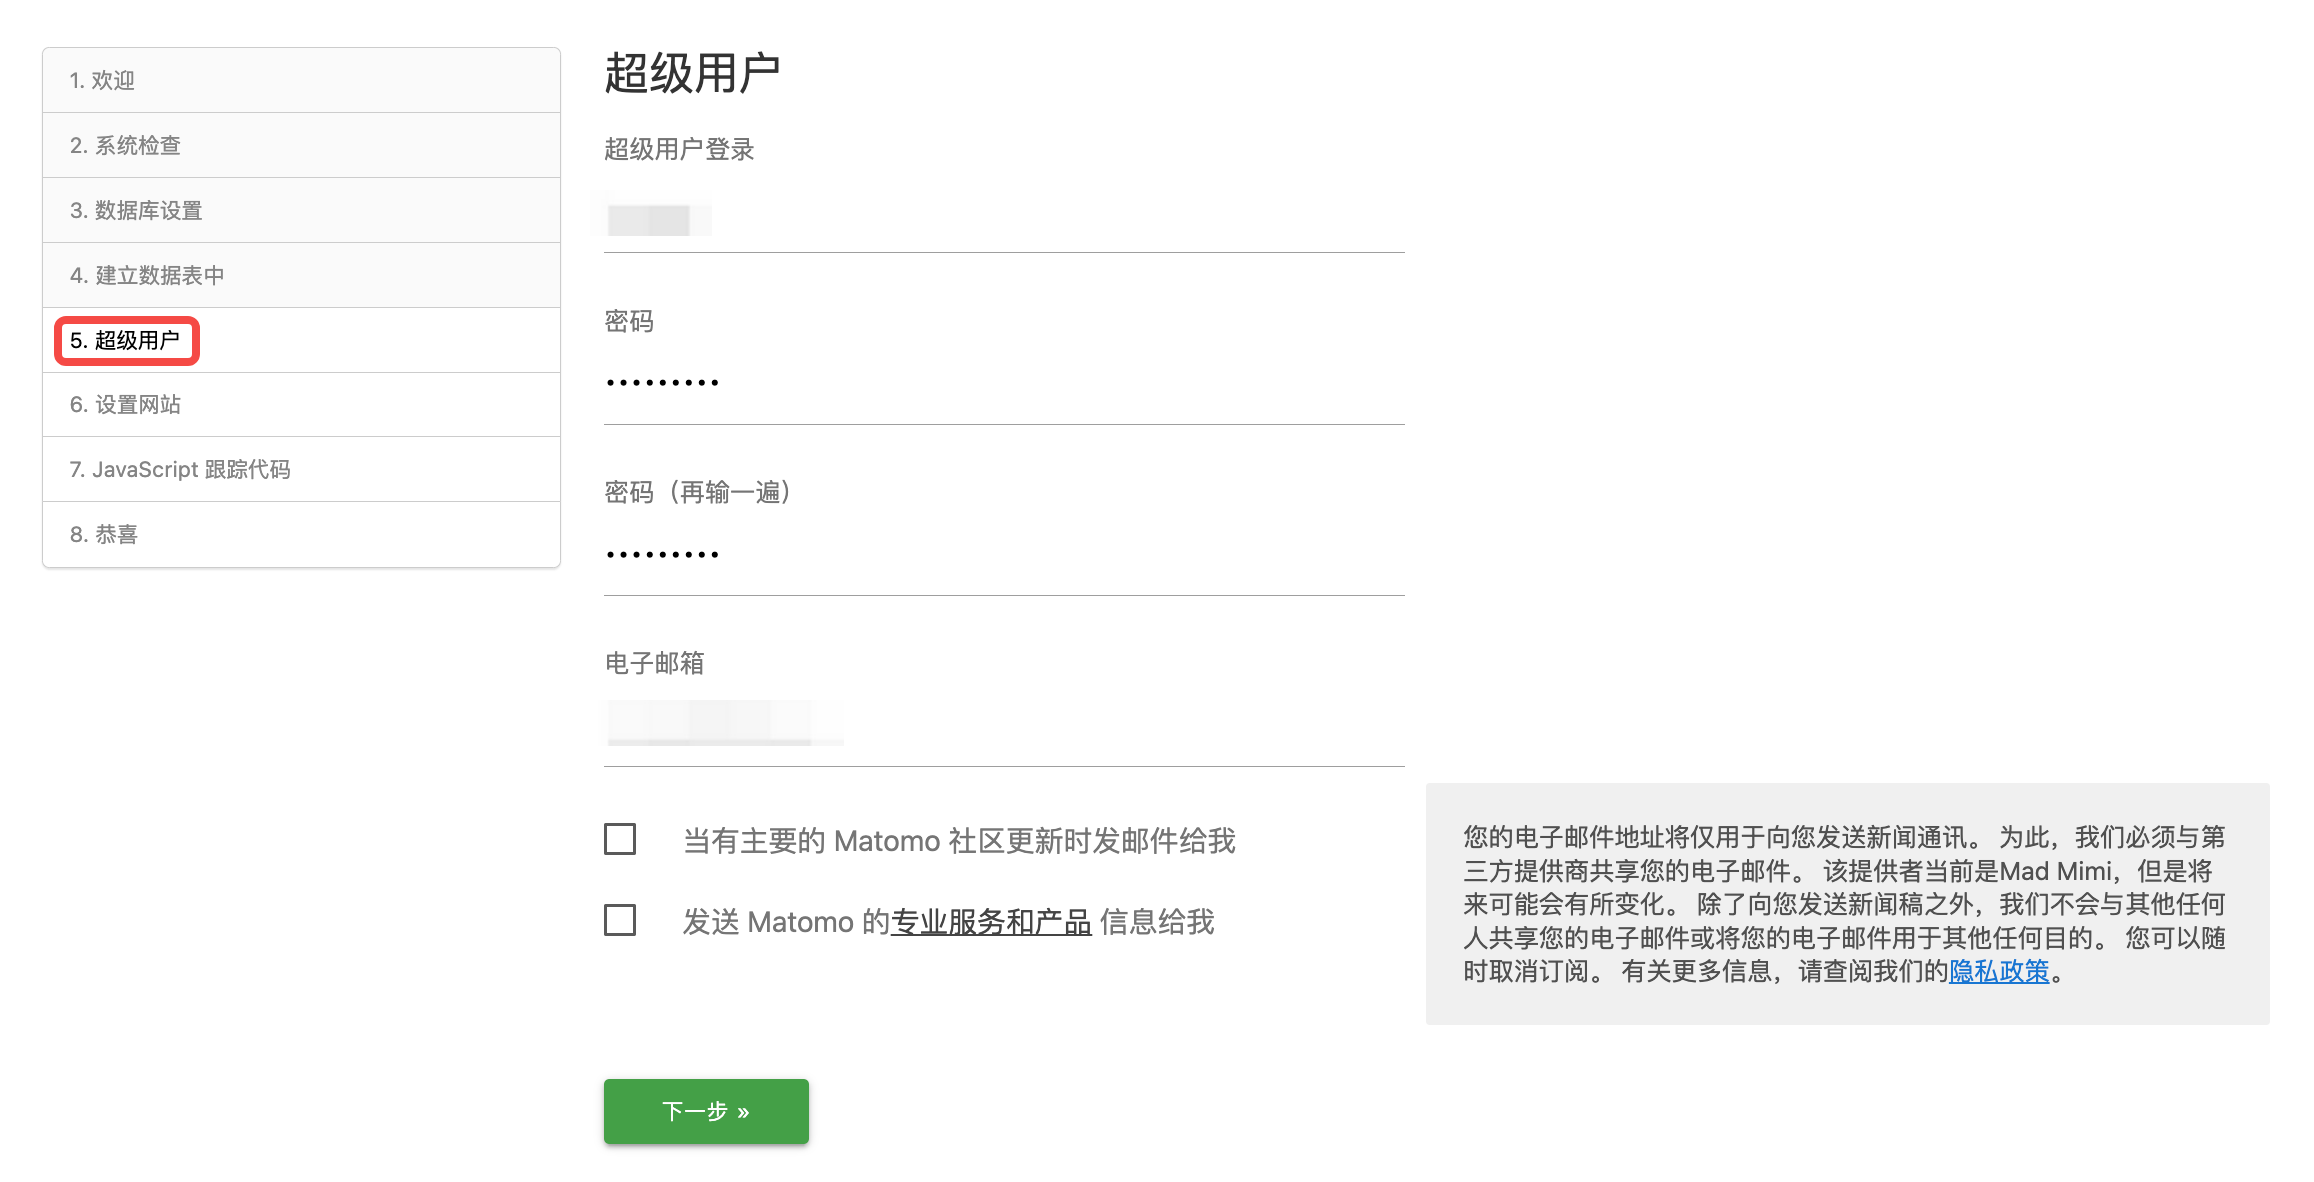
3. Create an Admin User: Set up a superuser for the Matomo dashboard.
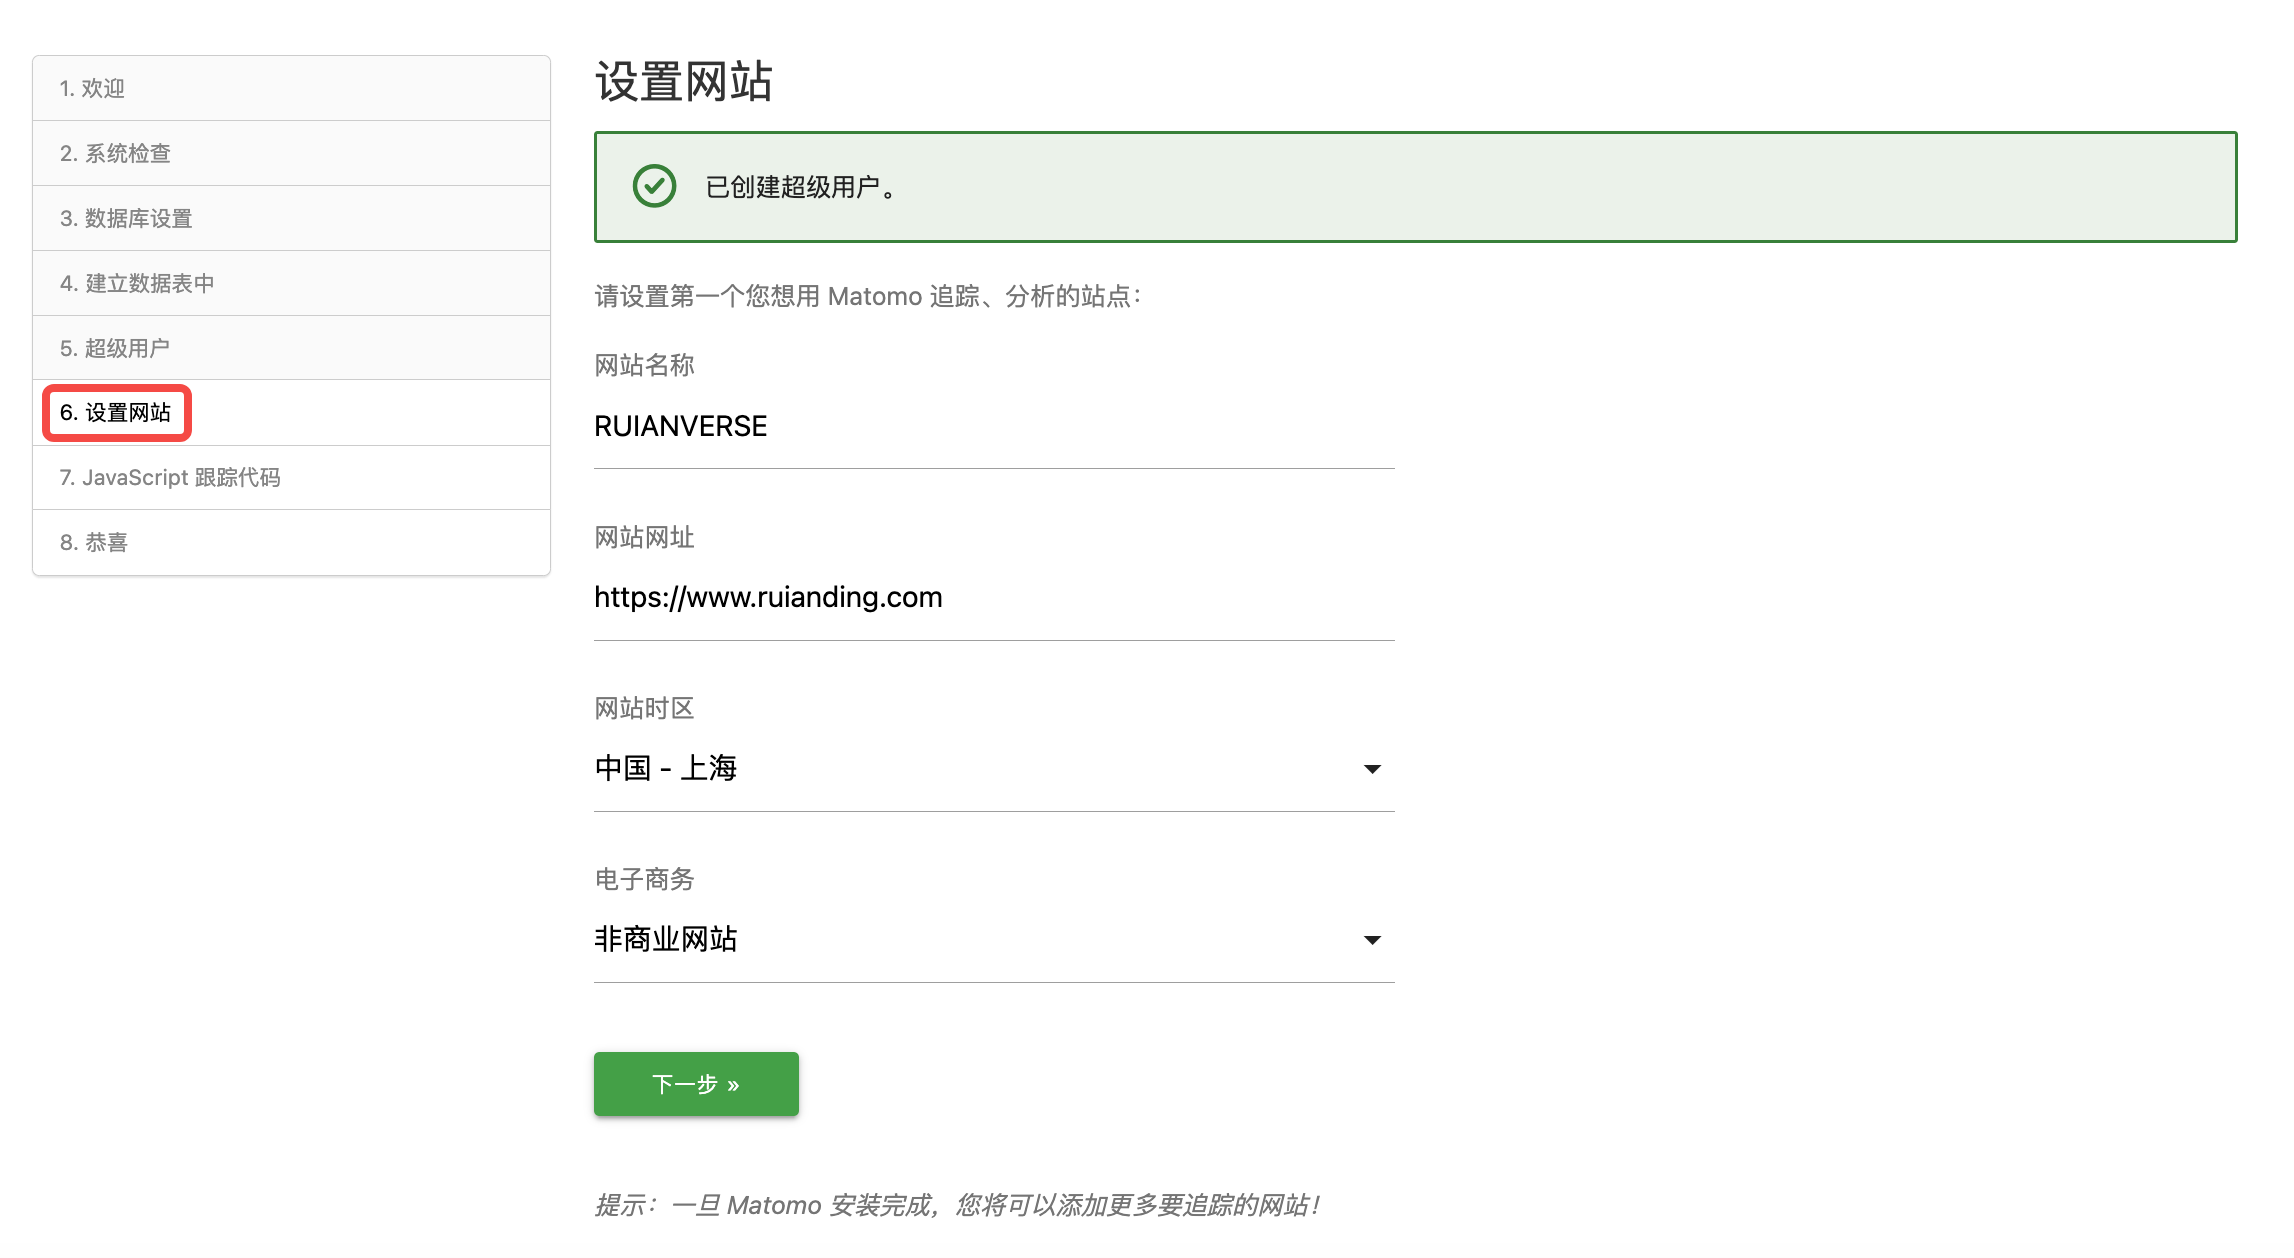
4. Configure My First Website: Add the website details for tracking.
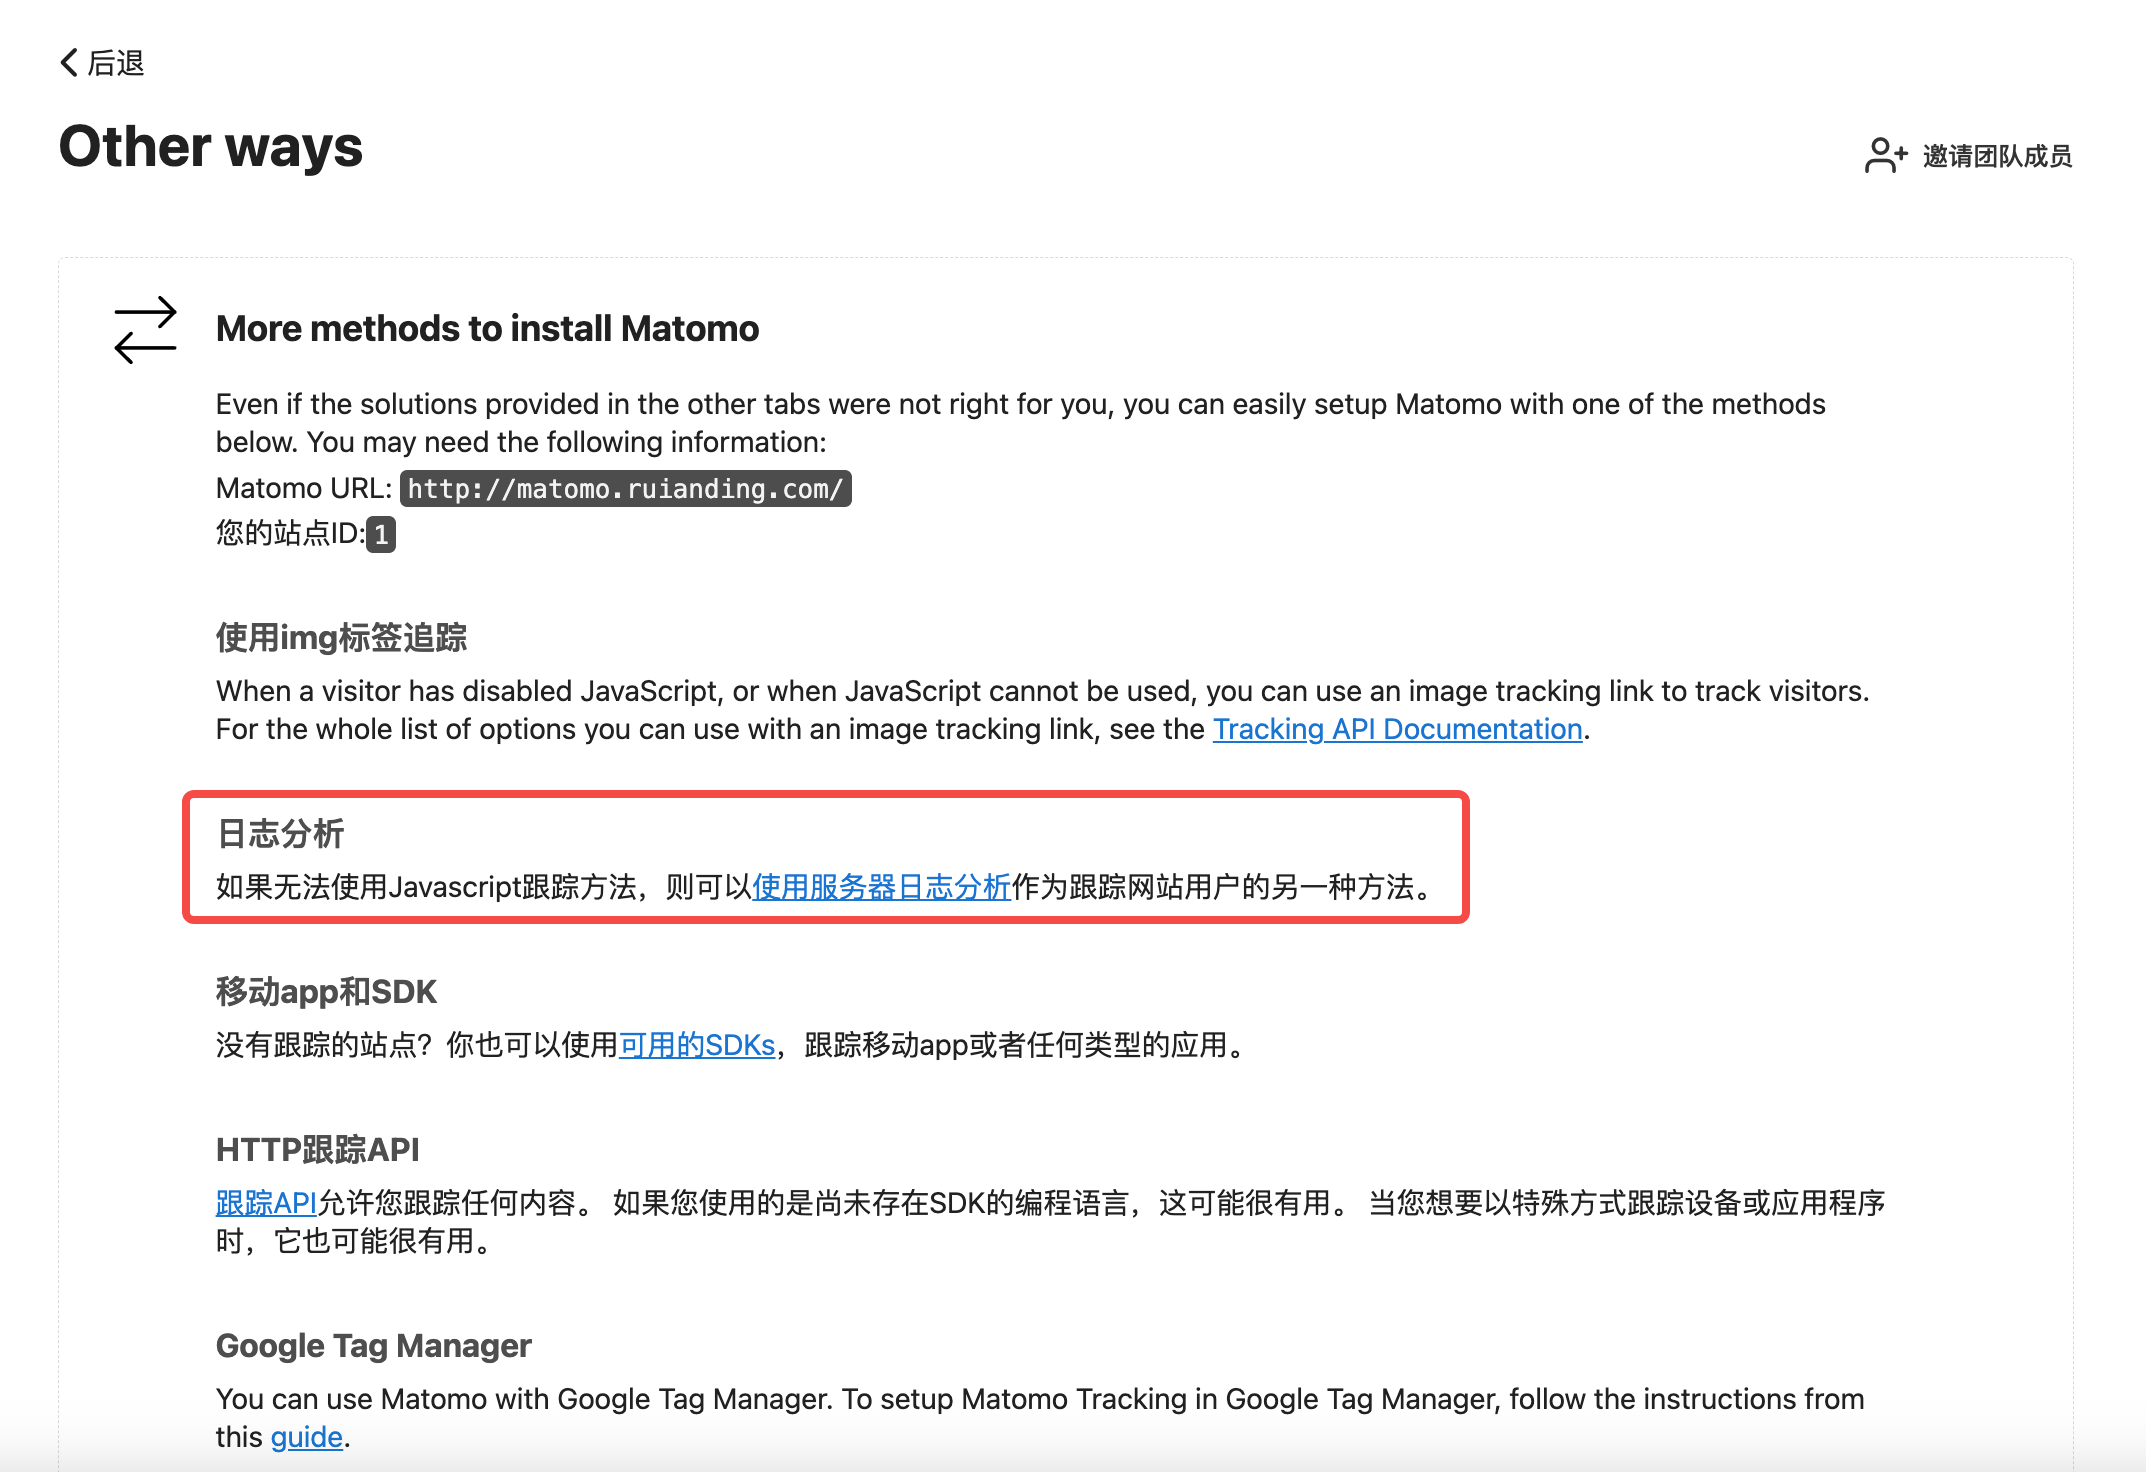
5.Tracking Code: Skip this if you’re using log import for tracking, which I am.
6. Use Matomo’s Log Import Tool
Since I chose to track visits by importing Apache logs, I needed to set up the log import tool.
6.1 Install Python and Dependencies
Matomo’s log import tool is written in Python. Install Python 3 and the necessary libraries:
sudo apt install python3 python3-requests python3-geoip2 -y
6.2 Install the GeoIP Database (Optional)
To enable visitor location tracking, Matomo requires the GeoIP database. You can download the GeoLite2 City database after registering at MaxMind. Follow the instructions to download and configure the database. I found this was not strictly necessary, as Matomo comes with built-in support for DBIP/GeoIP.
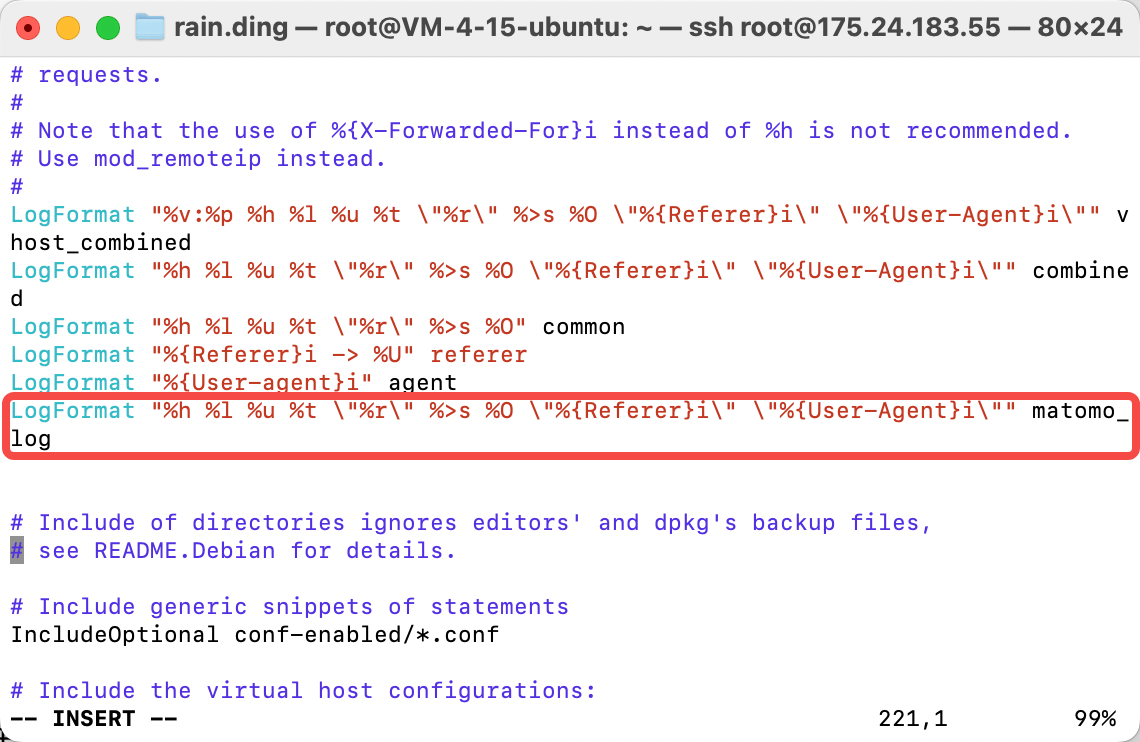
6.3 Set Up Apache Log Format
Ensure that Apache logs are correctly formatted for Matomo to process:
LogFormat "%h %l %u %t \"%r\" %>s %O \"%{Referer}i\" \"%{User-Agent}i\"" matomo_log
%h: The IP address of the remote host (the user accessing your website).
%l: The remote logname, which is often unused and will typically appear as a dash -.
%u: The authenticated user (if applicable). If no authentication is used, this will also appear as a dash -.
%r: The full request line, which includes the HTTP method (e.g., GET or POST), the requested resource (e.g., URL path), and the protocol (e.g., HTTP/1.1).
%>s: The HTTP status code, indicating the result of the request (e.g., 200 for success, 404 for not found).
%O: The size of the response, in bytes.
%{Referer}i: The referring URL, showing where the user came from before landing on your site (if available).
%{User-Agent}i: The user agent, which provides information about the browser or device the visitor is using.
6.4 Use a Custom Log Format
In the Apache virtual host configuration, we can specify a custom log format for Matomo. This format ensures that all the necessary details for Matomo’s log import tool are captured.
First, open the virtual host configuration file and add the custom log configuration:
sudo vi /etc/apache2/sites-available/ruianding.com.conf
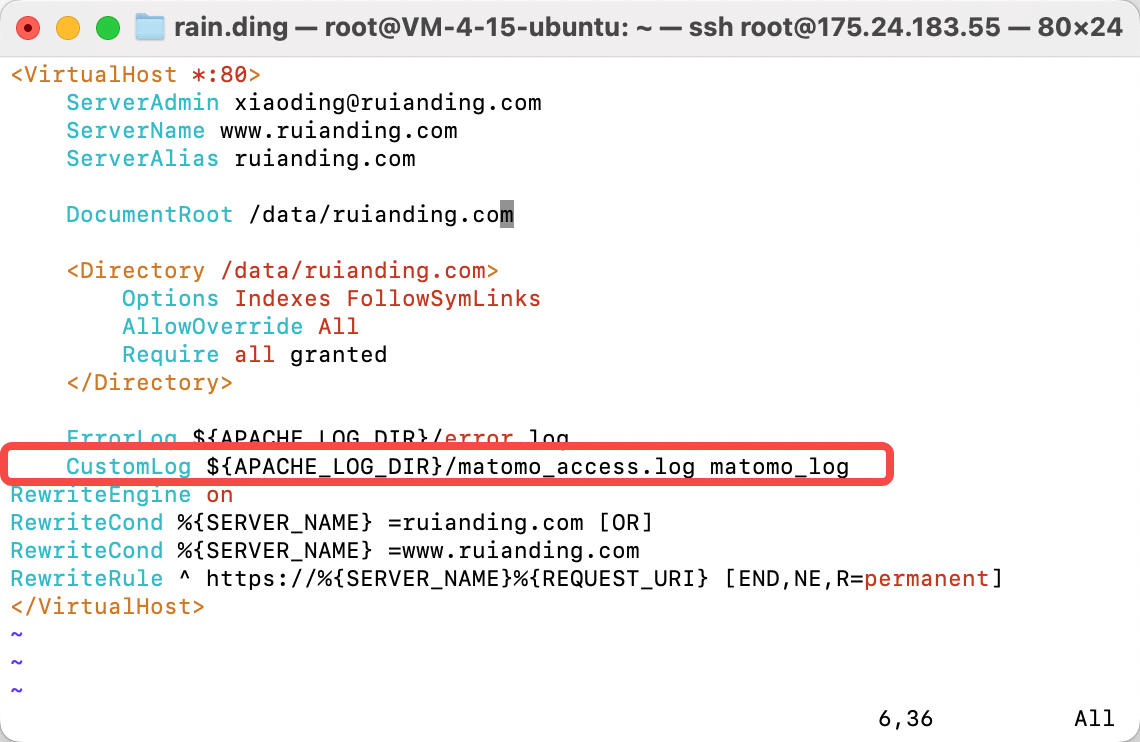
Next, add the following line inside the <VirtualHost> block to log requests in the matomo_access.log file using the custom matomo_log format:
CustomLog ${APACHE_LOG_DIR}/matomo_access.log matomo_log
This will ensure that all log entries for your website are recorded in /var/log/apache2/matomo_access.log for later import into Matomo.
Restart Apache to apply changes.
7. Import Apache Logs
Use the import_logs.py tool to import Apache logs into Matomo:
sudo python3 /var/www/matomo/misc/log-analytics/import_logs.py \
--url=http://matomo.ruianding.com \
--idsite=1 \
--recorders=4 \
--enable-http-errors \
--enable-http-redirects \
--enable-static \
--enable-bots \
/var/log/apache2/matomo_access.log
- –url: This is the URL of your Matomo instance, such as http://matomo.yourdomain.com. In this case, I’m using http://matomo.ruianding.com as my Matomo installation URL.
- –idsite=1: This is the site ID assigned to your website by Matomo. The ID 1 typically corresponds to the first website you set up in Matomo.
- –-recorders=4: This sets the number of concurrent processes for importing logs. Adjust this value based on your server’s performance. More recorders can speed up the import process but may require more system resources.
- –enable-http-errors: Includes requests that resulted in HTTP error codes (e.g., 404, 500). This helps track pages that return errors.
- –enable-http-redirects: Includes requests that resulted in HTTP redirects (e.g., 301, 302). This can be useful for tracking traffic flows and URL changes.
- –enable-static: Includes requests for static resources such as CSS, JavaScript, and images. Depending on your needs, you may choose to exclude these to focus on dynamic page visits.
- –enable-bots: Includes requests from bots and crawlers. By enabling this option, you can track how search engines and other bots are interacting with your site.
- /var/log/apache2/matomo_access.log: This is the path to the Apache access log file that you want to import into Matomo.
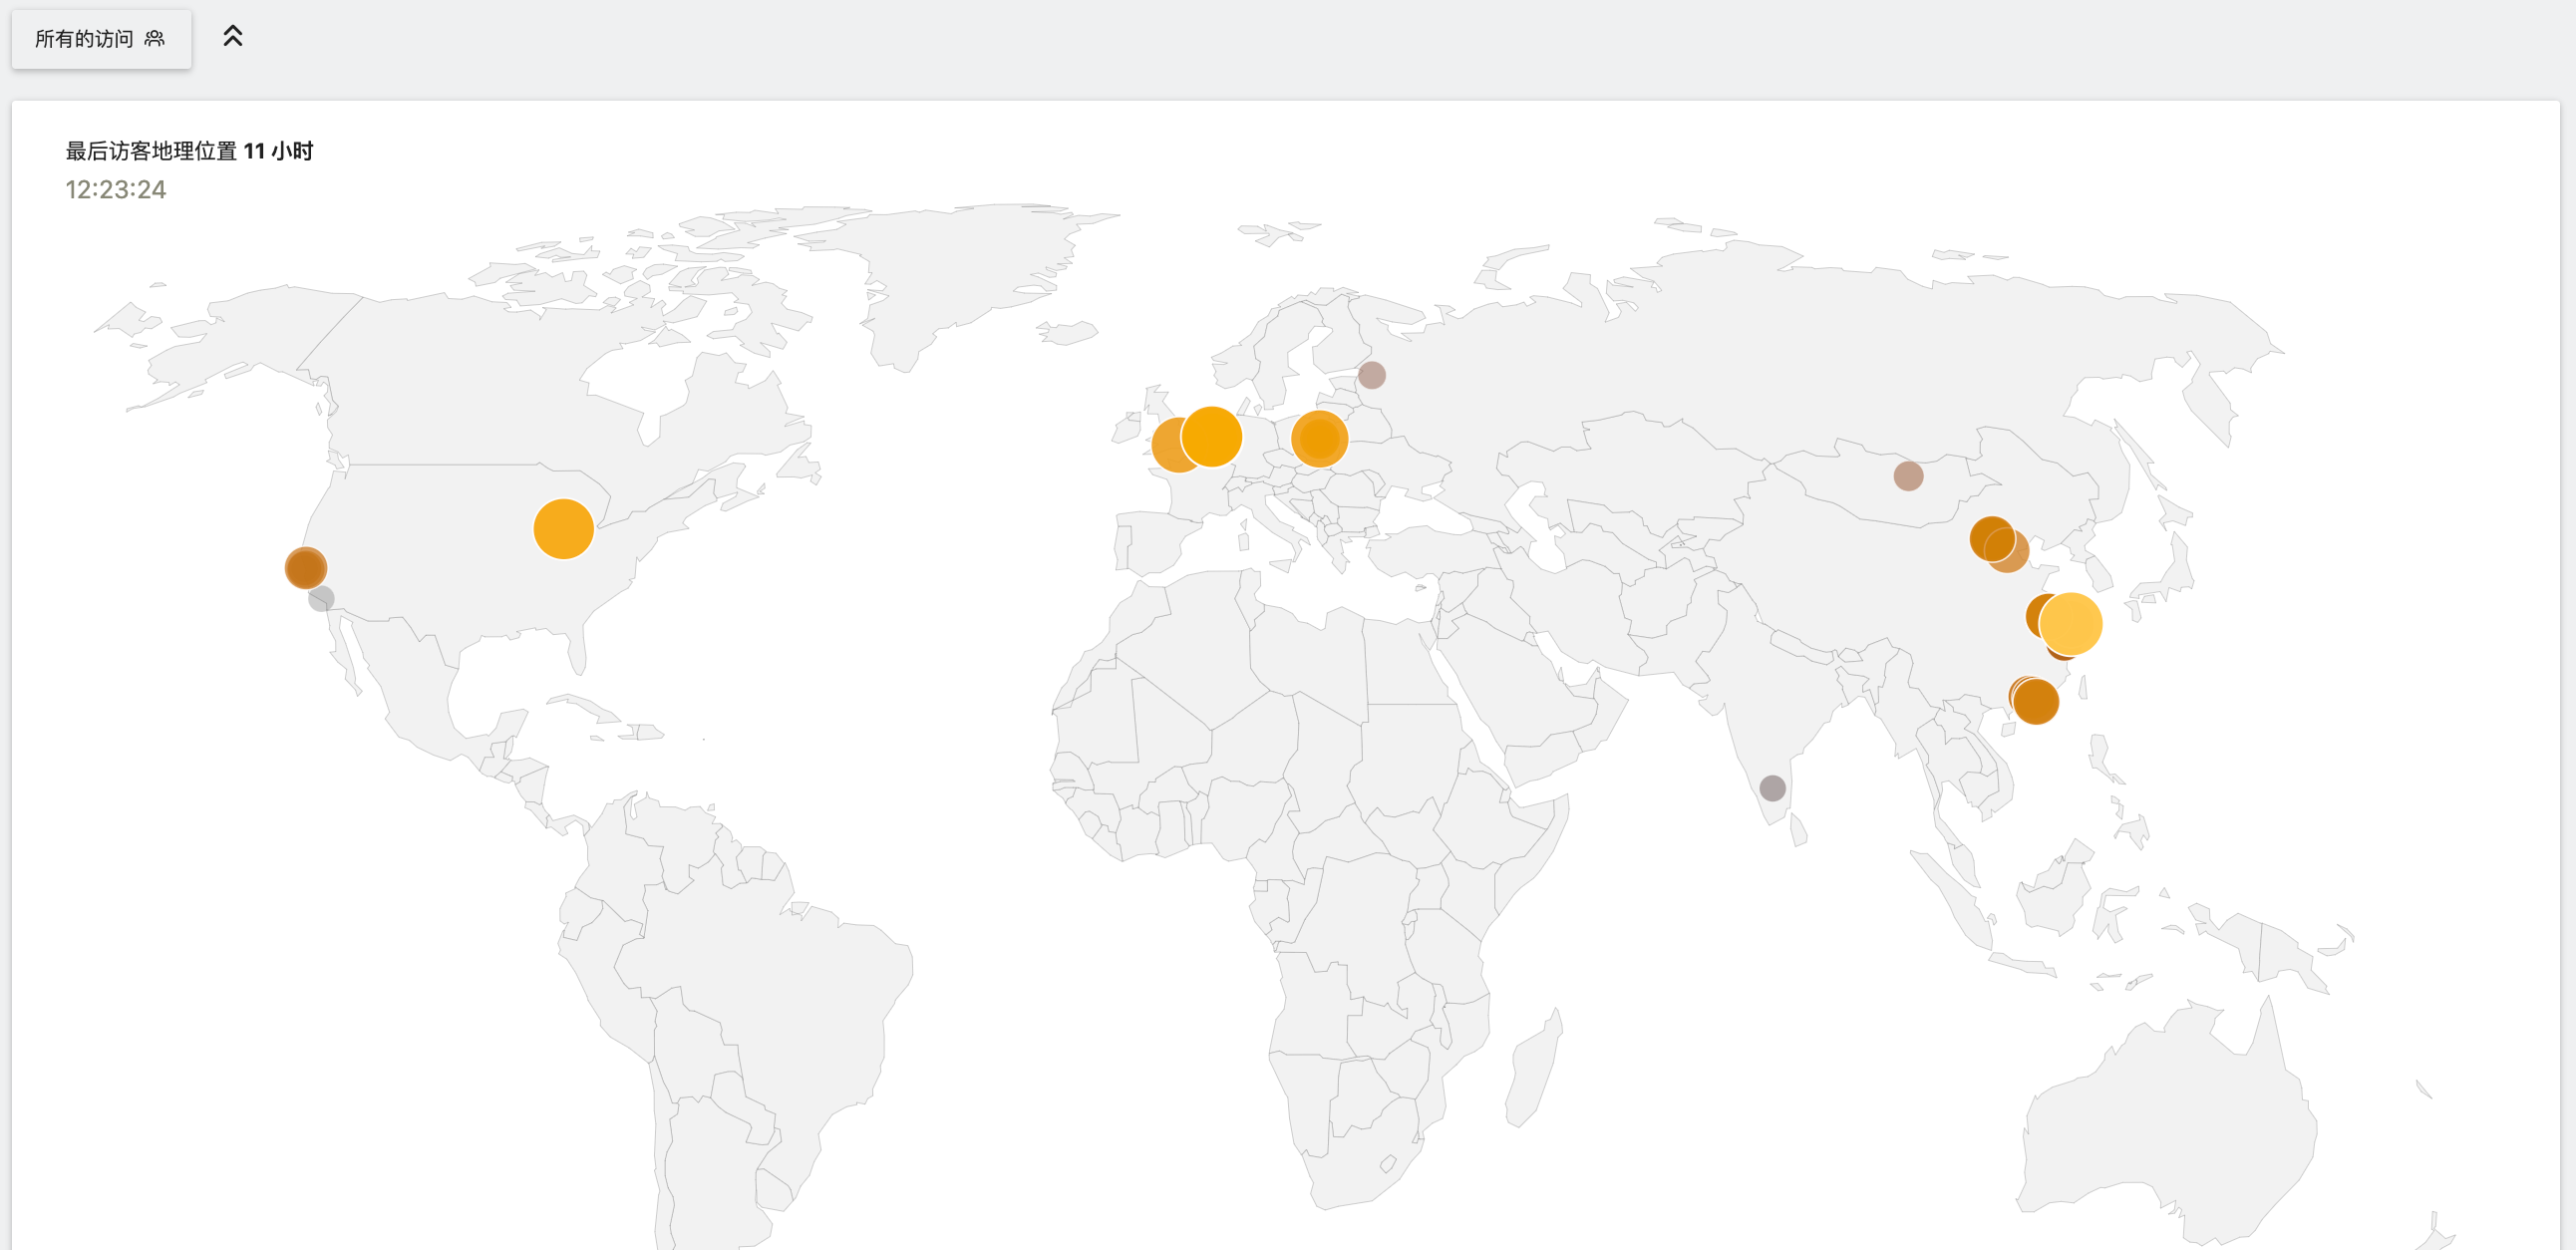
After completing the manual import, you can verify the results by checking the Matomo dashboard, the following graph shows that the import was successful:
8. Schedule Log Import
To keep the logs up to date, I set up a cron job to import logs every 6 hours:
sudo crontab -e
Add the following line:
0 */6 * * * /usr/bin/python3 /var/www/matomo/misc/log-analytics/import_logs.py --url=http://matomo.ruianding.com --idsite=1 --recorders=4 --enable-http-errors --enable-http-redirects --enable-static --enable-bots /var/log/apache2/matomo_access.log >> /var/log/matomo_import.log 2>&1
Troubleshooting Apache Logs Not Recording Blog Visits
Initially, I found that logs for the /blog directory were not being recorded in the Matomo log file. After checking with apachectl -S, I discovered separate HTTP and HTTPS configurations.
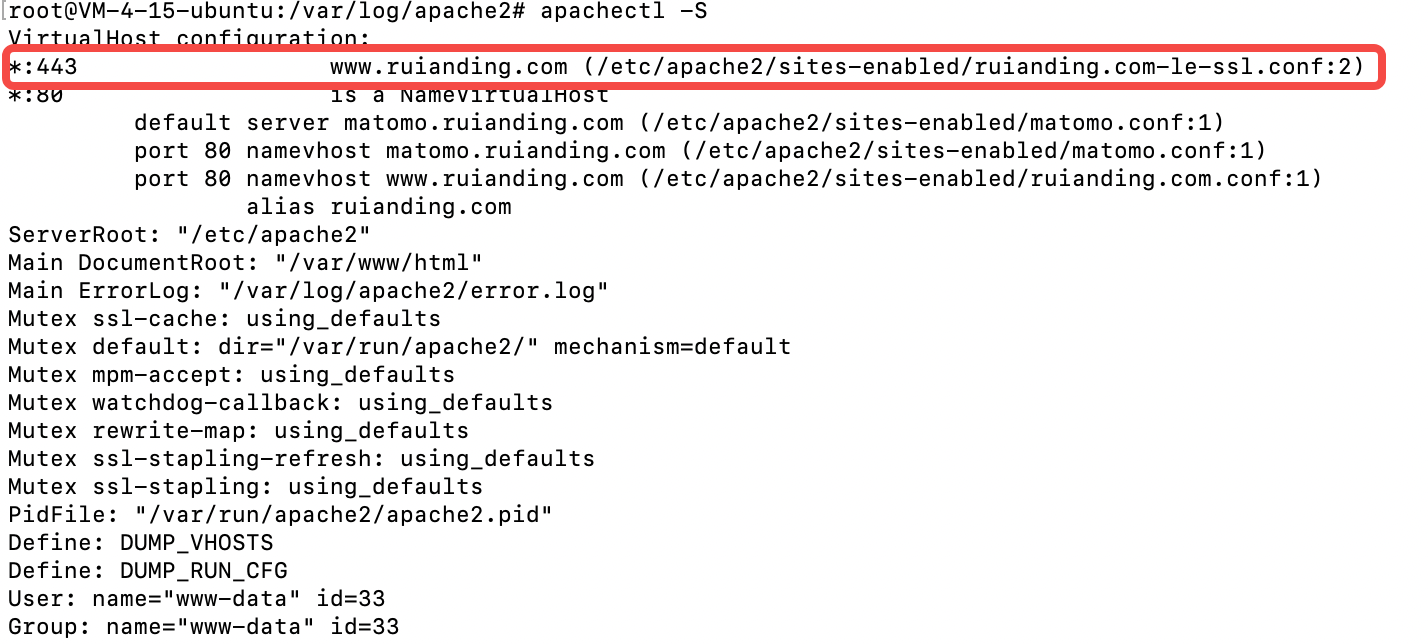
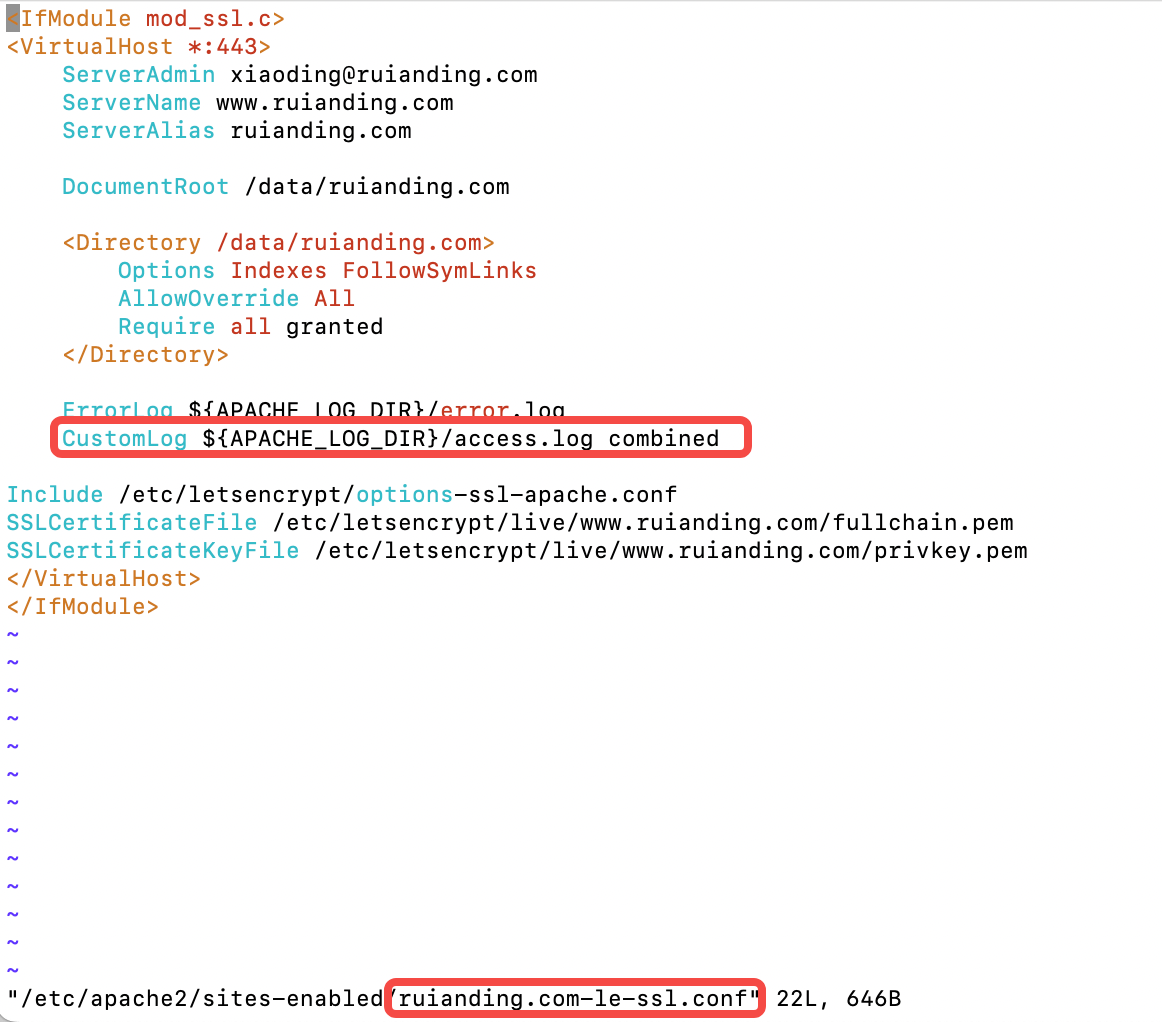
The missing CustomLog entry in the HTTPS configuration was causing the issue. After updating the HTTPS virtual host, the problem was resolved, and the logs were recorded correctly.
After completing the setup, I’m ready to analyze my site traffic and gain insights from Matomo 🎉!