Setting Up xrdp on an Ubuntu Server
Remote access is an essential tool for managing servers and providing technical support. One popular solution is xrdp, an open-source Remote Desktop Protocol (RDP) server that allows you to connect to your Ubuntu Server using any standard RDP client—such as the built-in Remote Desktop Connection on Windows.
In this blog post, I will walk you through the process of installing and configuring xrdp on your Ubuntu Server, including setting up a lightweight desktop environment with XFCE.
Step 1: Update Your System
It’s always a good idea to start by updating your package lists. Open your terminal and run:
sudo apt update
Step 2: Install a Lightweight Desktop Environment
Since Ubuntu Server doesn’t include a graphical user interface (GUI) by default, you’ll need to install one. In this guide, we will use XFCE because it’s lightweight and well-suited for servers.
Install XFCE and some additional utilities with:
sudo apt install xfce4 xfce4-goodies -y
Step 3: Install xrdp
With your desktop environment in place, install the xrdp package:
sudo apt install xrdp -y
Step 4: Configure xrdp to Use XFCE
There are two common methods to ensure that xrdp starts an XFCE session when you log in.
Option 1: Edit the User’s .xsession File
Create or modify the .xsession file in your home directory:
echo "startxfce4" > ~/.xsession
Option 2: Modify the /etc/xrdp/startwm.sh File
Alternatively, you can edit the global configuration by modifying the /etc/xrdp/startwm.sh file. Replace its content at the end with:
#!/bin/sh
startxfce4
Note: It’s recommended to back up the original file before making changes.
Original file:
#!/bin/sh
# xrdp X session start script (c) 2015, 2017, 2021 mirabilos
# published under The MirOS Licence

# Rely on /etc/pam.d/xrdp-sesman using pam_env to load both
# /etc/environment and /etc/default/locale to initialise the
# locale and the user environment properly.

if test -r /etc/profile; then
        . /etc/profile
fi

if test -r ~/.profile; then
        . ~/.profile
fi

test -x /etc/X11/Xsession && exec /etc/X11/Xsession
exec /bin/sh /etc/X11/Xsession
Step 5: Enable and Start the xrdp Service
To ensure xrdp starts automatically with your server, enable and start the service:
sudo systemctl enable xrdp
sudo systemctl start xrdp
Step 6: Change the Default RDP Port and Update the Firewall
For enhanced security, it’s recommended to change the default RDP port (3389) to a custom port. Follow these steps:
6.1: Modify the xrdp Configuration File
Open the xrdp configuration file in your preferred text editor:
sudo nano /etc/xrdp/xrdp.ini
Locate the line that specifies the port (it will look like port=3389) and change it to your preferred port (for example, 3390):
port=3390
Save the file and exit the editor.
6.2: Restart xrdp to Apply Changes
Restart the xrdp service so that the changes take effect:
sudo systemctl restart xrdp
6.3: Update the Firewall Settings
If you’re using the Uncomplicated Firewall (ufw), allow traffic through your new RDP port. For example, if you changed the port to 3390:
sudo ufw allow 3390/tcp
Note: Changing the default port adds an extra layer of security by making it less obvious to potential attackers.
Step 7: Connect Using an RDP Client
Now that everything is set up, you can connect to your Ubuntu Server:
- Open an RDP client (for example, the Remote Desktop Connection on Windows).
- Enter your server’s IP address. (If you’re using the default port, you do not need to specify it.)
- Log in with your Ubuntu username and password.
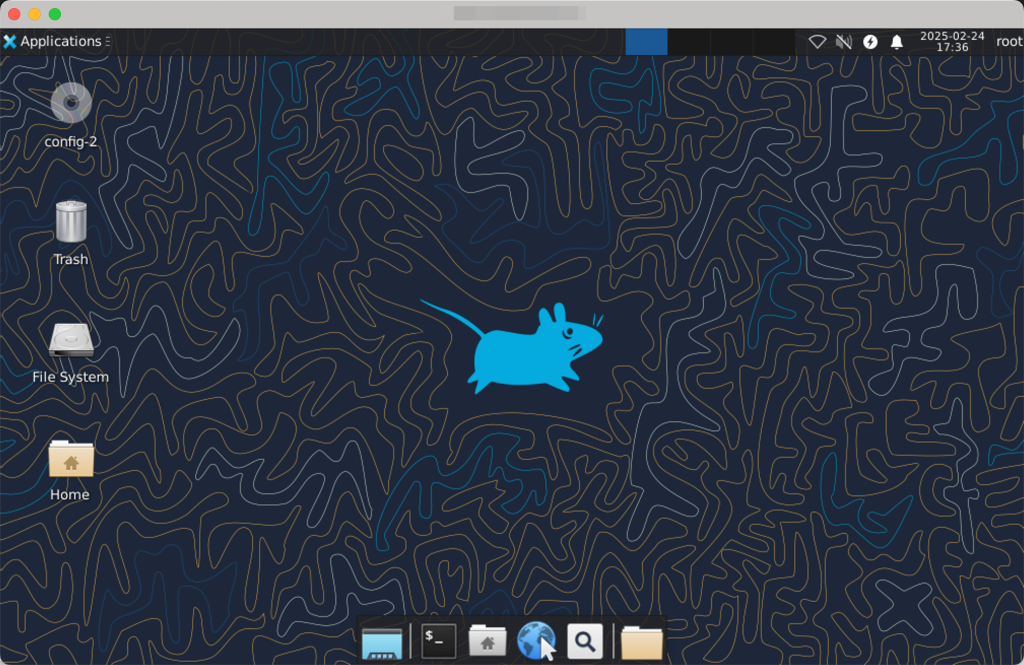
You should now be greeted with the XFCE desktop environment on your Ubuntu Server.

Conclusion
By following these steps, you have successfully installed and configured xrdp on your Ubuntu Server. This setup allows you to manage your server through a graphical interface remotely, simplifying many administrative tasks. Should you encounter any issues, check the xrdp logs located in /var/log/xrdp.log or /var/log/xrdp-sesman.log for further insights.
Feel free to share your experience or ask questions in the comments below. Happy remote managing!