Capturing the ADFS Diagonostic Logs
Please note that the steps assume you are using a Windows computer and have the necessary privileges to run PowerShell as an administrator.
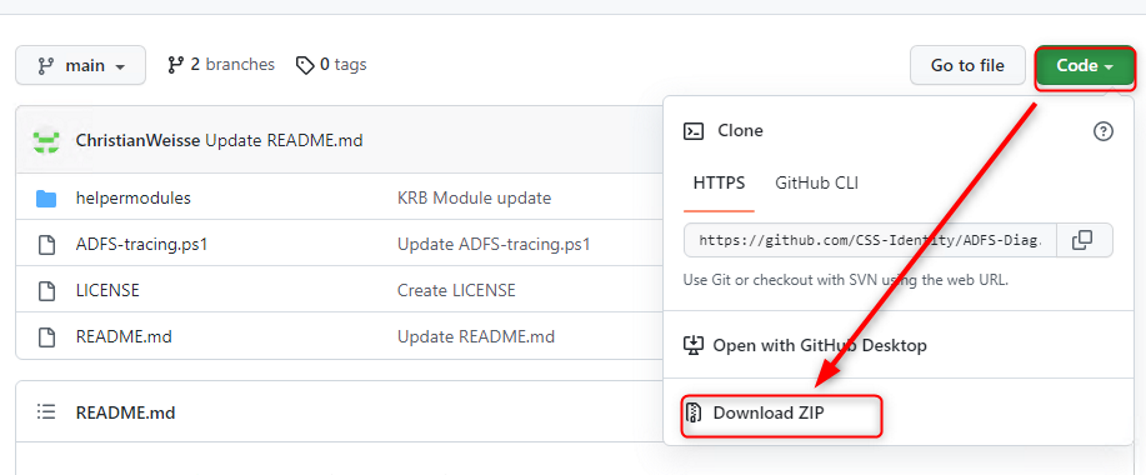
1. Go to the website: GitHub – CSS-Identity/ADFS-Diag: Microsoft Customer Support Services for Active Directory Federation Service repository
2. Find the ‘Code‘ button and click ‘Download ZIP‘ to download the repository.
3. Go to the ‘Downloads’ folder on your computer and locate the downloaded ‘ADFS-Diag-main.zip’ file.
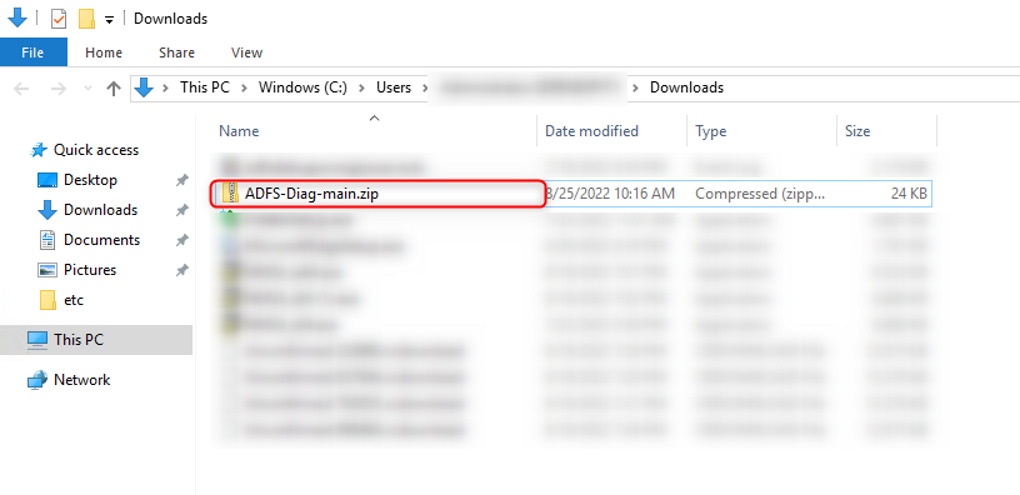
4. Right-click on the zip file and choose ‘Extract all’ from the context menu.
5. Select a destination folder where you want to store the extracted files and click ‘Extract’.
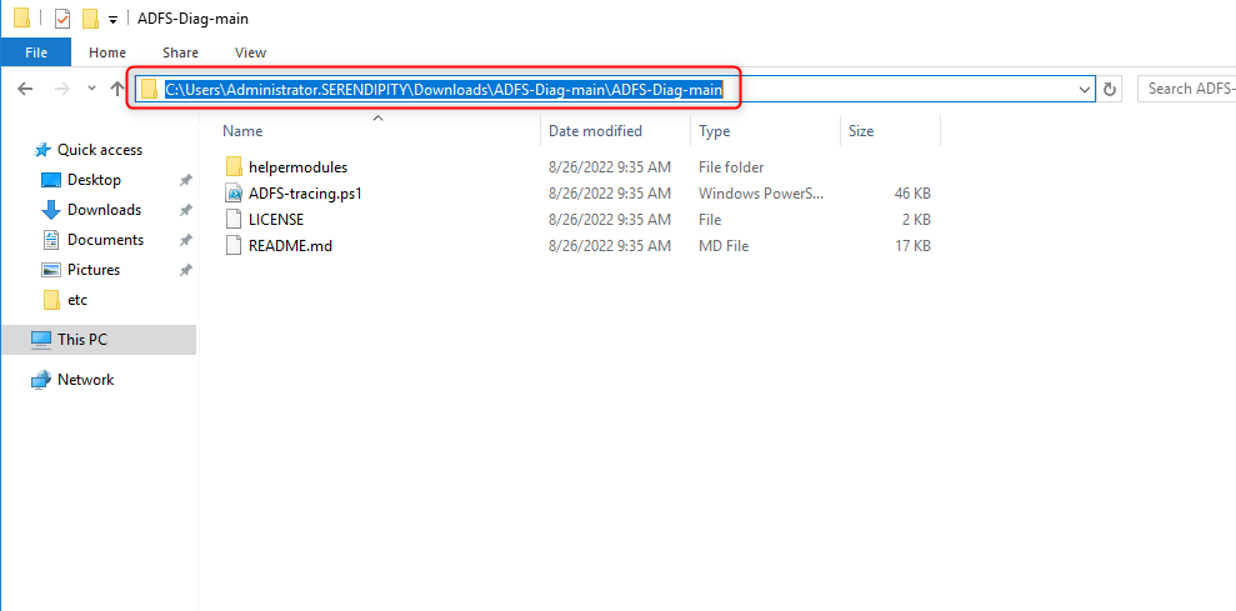
6. Navigate to the folder that contains all the extracted files and copy the path.
7. Click on the ‘Start’ button, search for ‘PowerShell,’ and right-click on it. Then choose ‘Run as administrator’ from the options.
8. In the PowerShell window, type the following command, and press Enter to execute the command.
cd "C:\temp\ADFS-Diag-main\ADFS-Diag-main"
(Replace “C:\temp” with the copied path, and make sure to include the double quotes).

9. Run the script by entering the following command, and press Enter.
.\ADFS-tracing.ps1
10. In the ADFS tracing window that appears, tick the checkboxes for ‘Runtime Tracing,’ ‘Include Network Traces,’ and ‘Include Performance Counter.’
11. Choose a location to store the trace files (e.g., the desktop) by clicking the ‘Browse’ button.
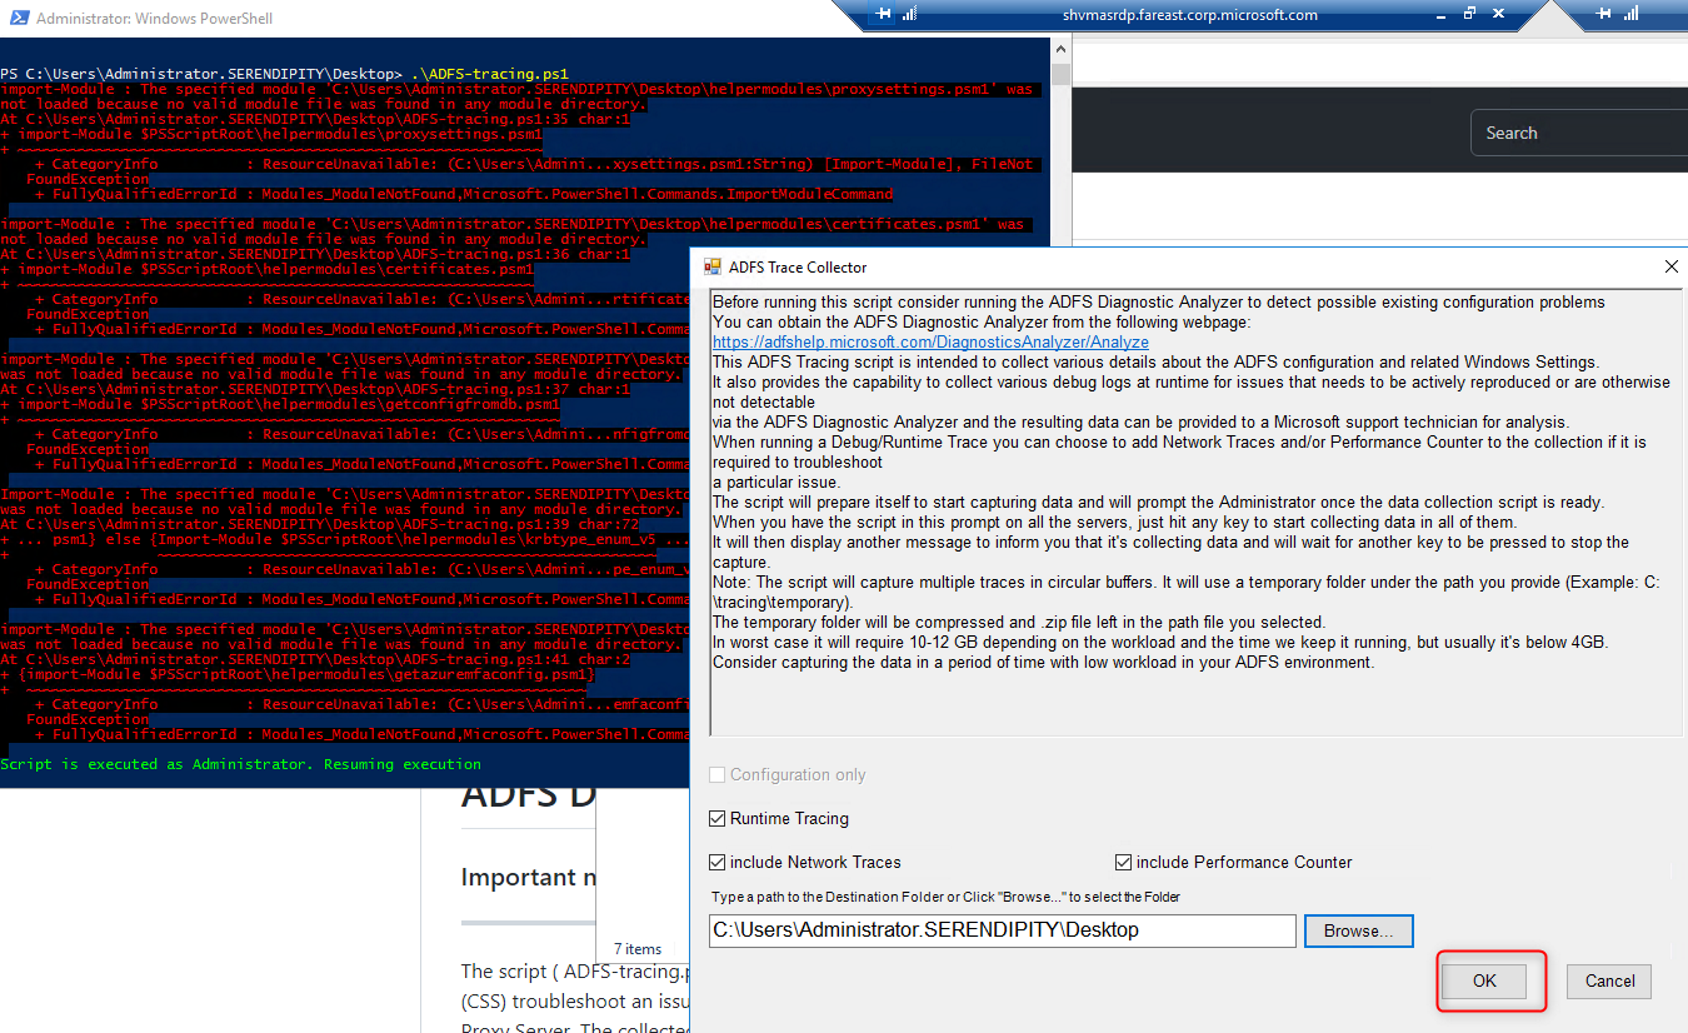
12. Click ‘OK’ to start the tracing process.
13. Press ‘CTRL+Y’ to begin capturing the trace.
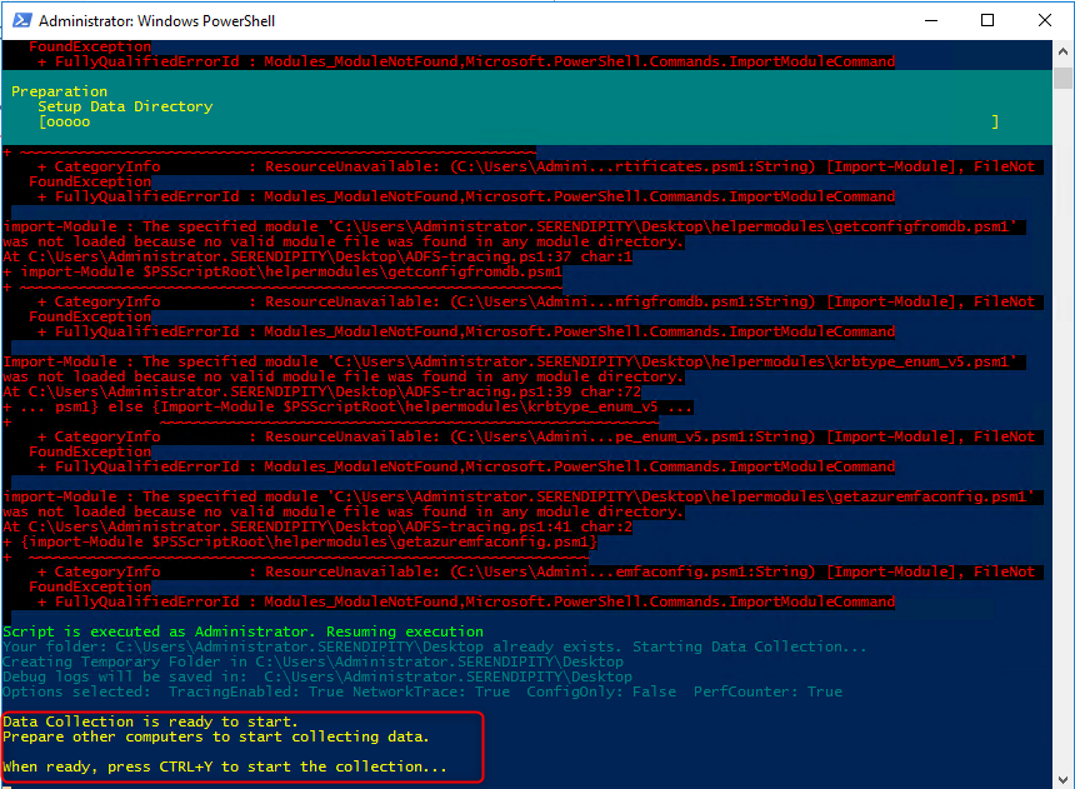
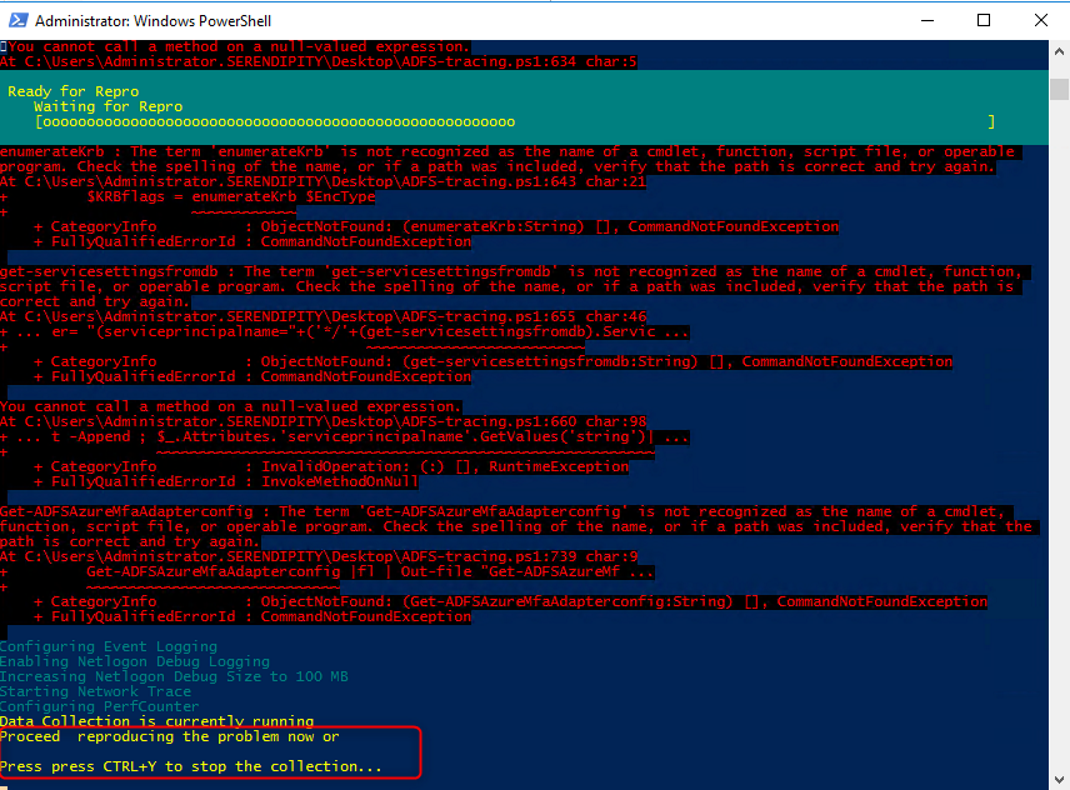
14. Reproduce the issue while the tracing is active.
15. Once you have reproduced the problem, press ‘CTRL+Y’ again to stop capturing the trace.
16. After finalizing the logs, you can find the trace files in the folder you selected earlier (e.g., the desktop).
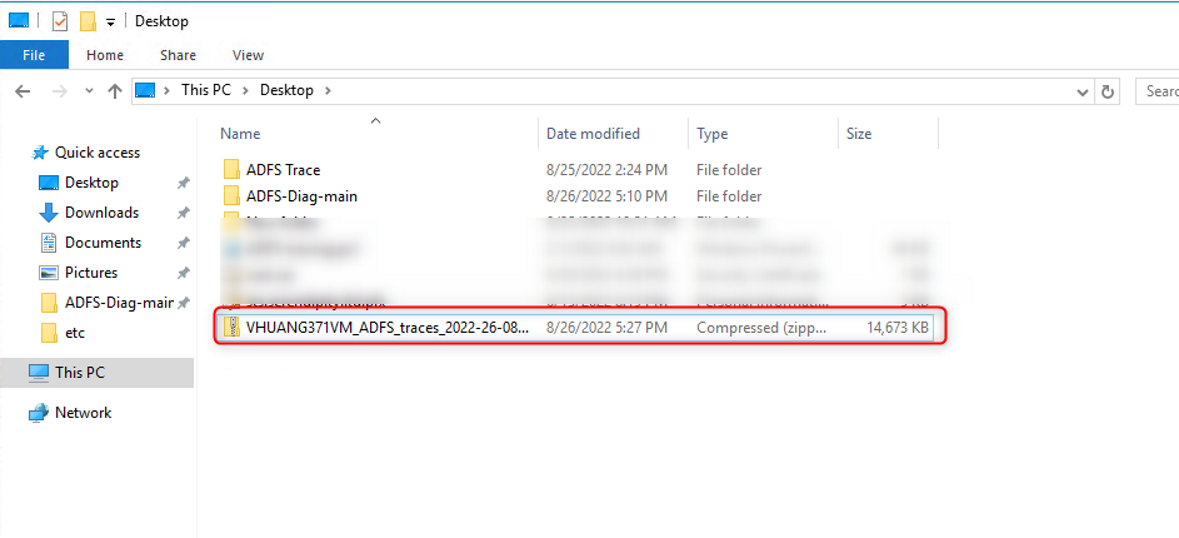
17. Upload the trace files to the designated link provided for further analysis.