Docker Data Persistence and Updating Open-WebUI: A Comprehensive Guide
When deploying open-webui with Docker, ensuring that important data (such as chat history and configuration files) persists across container updates is crucial. In this guide, we’ll walk through how to use Docker volumes for data persistence, explain the official deployment command in detail, and answer the initial concern: Will updating open-webui erase my chat history?
1. The Initial Concern
I initially deployed open-webui by following the official documentation and running a single command:
docker run -d -p 3000:8080 --gpus all --add-host=host.docker.internal:host-gateway -v open-webui:/app/backend/data --name open-webui --restart always ghcr.io/open-webui/open-webui:cuda
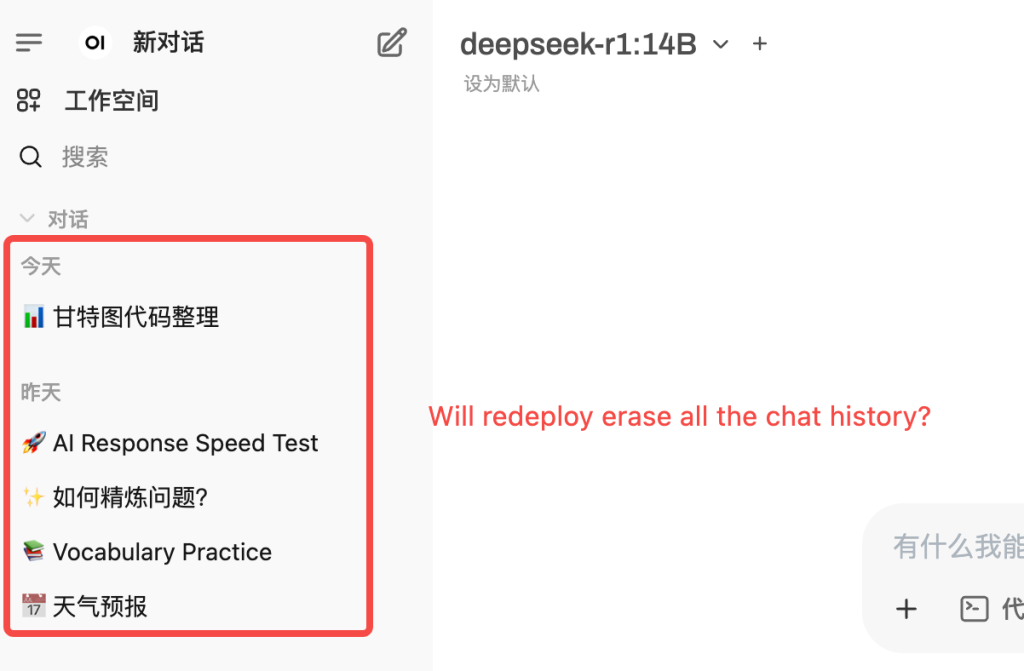
At the time, I didn’t think much about it. Later, however, I wondered:
If I update open-webui, will it wipe out my chat history and other data?
2. Why Data Persistence Matters
By default, any data stored inside a Docker container is ephemeral. If you update or recreate the container, you risk losing that data. Using Docker volumes allows you to store data externally on the host machine. This means even if you remove or update the container, your data remains intact and can be reattached to a new container instance.
3. Using Docker Volumes for Persistent Storage in open-webui
In the deployment command shown above, the parameter -v open-webui:/app/backend/data plays a key role in persisting your data. Here’s a breakdown:

-v open-webui:/app/backend/data
- This mounts a Docker volume named
open-webuito the container directory/app/backend/data. - If the volume
open-webuidoes not exist, Docker automatically creates it. - As a result, all data generated by open-webui (such as your chat logs) is stored in this volume. Even if you stop or remove the container, the data remains on your host in the volume, allowing you to reattach it to a new container.
Other Command Parameters Explained
docker run -d: Runs the container in detached (background) mode.-p 3000:8080: Maps port 3000 on the host to port 8080 in the container, allowing you to access open-webui vialocalhost:3000.--gpus all: Grants the container access to all available GPUs, which is important for GPU-accelerated applications.--add-host=host.docker.internal:host-gateway: Adds a host entry inside the container, facilitating communication with the host.--name open-webui: Assigns the container the name “open-webui.”--restart always: Ensures the container restarts automatically if it stops or the system reboots.ghcr.io/open-webui/open-webui:cuda: Specifies the Docker image and tag to use. This image is built with CUDA support for GPU acceleration.
4. Verifying Docker Volume Usage
To confirm that your open-webui container is using a Docker volume for data persistence, you can inspect the container details.
4.1 Using the Full Inspect Command
Run the following command to view detailed container information:
docker inspect open-webui
Then, look for the Mounts section in the output. You should see something similar to:
[
  {
    "Type": "volume",
    "Name": "open-webui",
    "Source": "/var/lib/docker/volumes/open-webui/_data",
    "Destination": "/app/backend/data",
    "Driver": "local",
    "Mode": "z",
    "RW": true,
    "Propagation": ""
  }
]
4.2 (Recommended) Using a Concise Command
For a more streamlined output, you can use:
docker inspect --format='{{json .Mounts}}' open-webui
This command prints only the mount information in JSON format, making it easier to quickly verify that:
- The Type is
"volume". - The Name is
open-webui. - The Destination is
/app/backend/data.

This confirms that your chat history and other important data are stored in the Docker volume, ensuring that updates do not cause data loss.
5. Safely Updating open-webui
Because your data is stored externally via the Docker volume, updating open-webui will not delete your chat history. Here’s how you can safely update the container:
- Stop the Existing Container
docker stop open-webui - Remove the Old Container
docker rm open-webui - Pull the Latest Image
docker pull ghcr.io/open-webui/open-webui:cuda - Start a New Container with the Same Volume
docker run -d -p 3000:8080 --gpus all --add-host=host.docker.internal:host-gateway -v open-webui:/app/backend/data --name open-webui --restart always ghcr.io/open-webui/open-webui:cuda
Since the new container uses the same open-webui volume mounted to /app/backend/data, your data remains available and intact.
6. Conclusion
By using Docker volumes, open-webui stores its data outside the container, ensuring that updates or container recreations do not lead to data loss. The deployment command provided by the open-webui documentation is designed to create and mount a persistent volume, as verified by the inspection commands. This approach gives you the confidence to update your application without worrying about losing chat history or other critical data.