Shadowsocks on Linux – Part 1: Setting Up Shadowsocks on a Linux Server
When setting up a private proxy server for secure and unrestricted access, Shadowsocks combined with proxychains on a Linux server is a powerful choice. This guide covers the complete process, including troubleshooting steps for potential version compatibility issues encountered during the setup.
1. Installing Python 3.9
First, to create a stable and isolated environment, I opted for Python 3.9, which provides better compatibility with the necessary packages. Here’s how to install it:
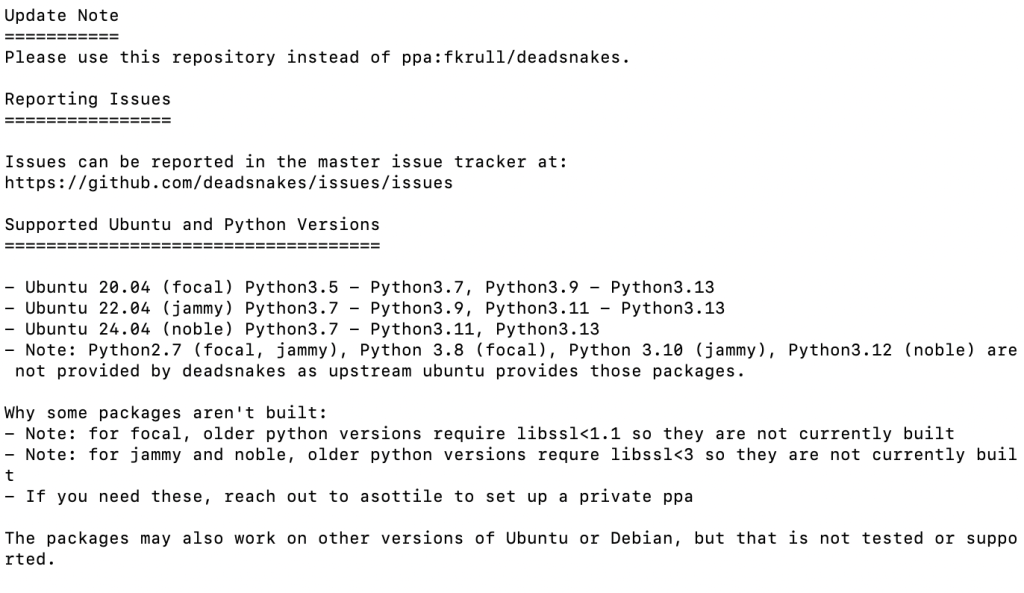
Add the deadsnakes PPA repository for Python 3.9:
sudo apt install software-properties-common
sudo add-apt-repository ppa:deadsnakes/ppa

Install Python 3.9 and required packages:
sudo apt install python3.9 python3.9-venv python3.9-distutils
Install pip for Python 3.9:
curl https://bootstrap.pypa.io/get-pip.py -o get-pip.py
sudo python3.9 get-pip.py
2. Setting Up a Virtual Environment
To avoid conflicts with the system Python packages, I used a virtual environment:
Create and enter the environment directory:
mkdir ~/shadowsocks_env
cd ~/shadowsocks_env
Initialize the virtual environment with Python 3.9:
python3.9 -m venv venv

Activate the virtual environment:
source venv/bin/activate
With the environment active, any installed packages will remain isolated within it, allowing for easier management.
3. Installing Shadowsocks
Within the virtual environment, I installed Shadowsocks:
pip install shadowsocks
4. Troubleshooting Version Compatibility Issues
During setup, I encountered an error indicating that the chacha20-ietf-poly1305 encryption method was not supported. This issue is typical with outdated or incompatible versions of Shadowsocks.

Here’s how I resolved it:
Solution 1: Change Encryption Method
In the shadowsocks.json configuration file, I changed the "method" value to a more widely supported option like "aes-256-gcm", which worked without issues.
Since my proxy server is already configured to use Chacha20-Poly1305, and I prefer to avoid making remote modifications to its setup, I will proceed with the Solution 2.
Solution 2: Update Shadowsocks to a Compatible Version
For better support, I upgraded to the latest Shadowsocks version using this command:
pip install git+https://github.com/shadowsocks/shadowsocks.git@master
Alternatively, using Shadowsocks-Rust, a high-performance and actively maintained version, can also resolve compatibility issues:
  curl --proto '=https' --tlsv1.2 -sSf https://sh.rustup.rs | sh
  cargo install shadowsocks-rust
5. Configuring Shadowsocks
Next, I created the shadowsocks.json configuration file to define server and client settings:
{
    "server": "YOUR_SERVER_IP",
    "server_port": YOUR_SERVER_PORT,
    "local_address": "127.0.0.1",
    "local_port": 1080,
    "password": "YOUR_PASSWORD",
    "timeout": 300,
    "method": "aes-256-gcm"
}
Shadowsocks was then started successfully with the following command:
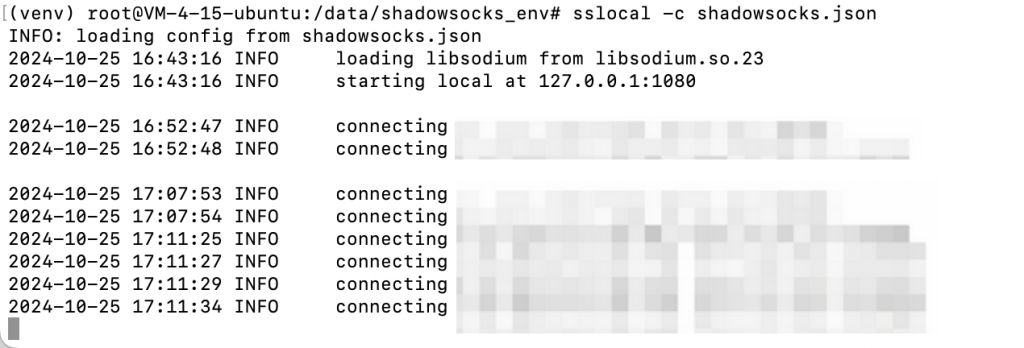
sslocal -c shadowsocks.json
6. (Optional) Configuring Proxychains
proxychains is designed to force applications that lack built-in proxy support to use a specified proxy. It intercepts network requests and reroutes them through a configured proxy (e.g., SOCKS5, HTTP). Here are its main use cases:
1. Applications without native proxy support: Some command-line tools or GUI programs, like telnet, ssh, or certain database clients, do not allow direct proxy configuration. proxychains enables these applications to route traffic through a proxy without needing any internal changes.
2. Convenient multi-proxy configuration: When using multiple proxies, proxychains can automatically switch between them as configured in proxychains.conf, providing backup or load-balancing functionality.
3. Testing and debugging: Since proxychains is a temporary setup that doesn’t require environment variable changes, it’s useful for quickly switching between direct and proxied connections to test connectivity effects in the same terminal session.
Setup Procedure
Install proxychains:
sudo apt install proxychains
Update proxychains Configuration:
Edit /etc/proxychains.conf to add the local SOCKS5 proxy:
socks5 127.0.0.1 1080
Testing the Setup with Proxychains:
With everything configured, I tested the proxy by running:
proxychains curl ifconfig.me
This returned the Shadowsocks server IP, confirming the proxy was functioning correctly.
When you configure a global proxy with export ALL_PROXY=socks5://127.0.0.1:1080, all network requests on the system (for applications that respect this setting, like curl and wget) will automatically use the proxy. In this setup, proxychains becomes redundant because the global proxy setting already ensures that network traffic is routed through the SOCKS5 proxy. Simply unset the global proxy unset ALL_PROXY when you want to switch back to direct connections.
7. A Small Hiccup: Configuring Git Proxy to Access GitHub
The primary goal of setting up Shadowsocks was to enable my server to access GitHub. However, after configuring Shadowsocks and proxychains, I still encountered timeout issue when trying to reach GitHub.
This step is also optional if you’ve configured a global proxy setting.
To resolve this, I applied a direct proxy configuration specifically for git commands, which allowed Git to use the Shadowsocks SOCKS5 proxy directly. Here’s how I did it:
git config --global http.proxy socks5://127.0.0.1:1080
git config --global https.proxy socks5://127.0.0.1:1080
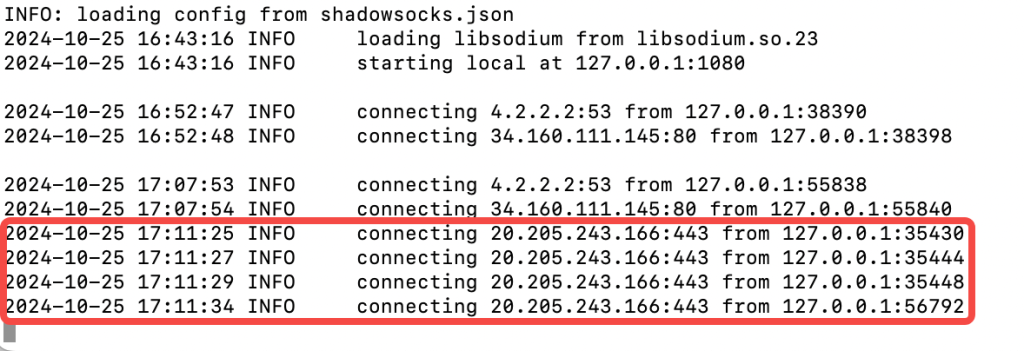
With these commands, Git now uses the SOCKS5 proxy set up by Shadowsocks to access GitHub repositories. As shown in the image below, this additional configuration successfully enabled GitHub access.


To Be Continued: Running Shadowsocks in the Background
After confirming that Shadowsocks and proxychains work as expected, I’m currently testing methods to keep Shadowsocks running in the background.

Future updates will explore options such as nohup, screen, and configuring Shadowsocks as a systemd service to ensure seamless operation.