Website Migration – Part 1: Setting Up the Linux Server for My Website Migration
Since my original server was hosted on Tencent Cloud, the first thing I did was export and import the firewall rules to keep the security settings consistent. Once the firewall rules were in place, I moved on to setting up my new Linux server.

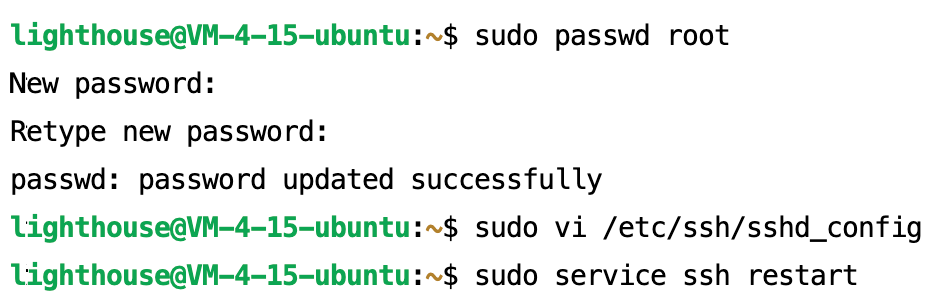
I chose Ubuntu Server 24.04 LTS as the OS. After setting up the instance, I followed Tencent Cloud’s documentation Ubuntu 系统如何使用 root 用户登录实例? to configure the root user.
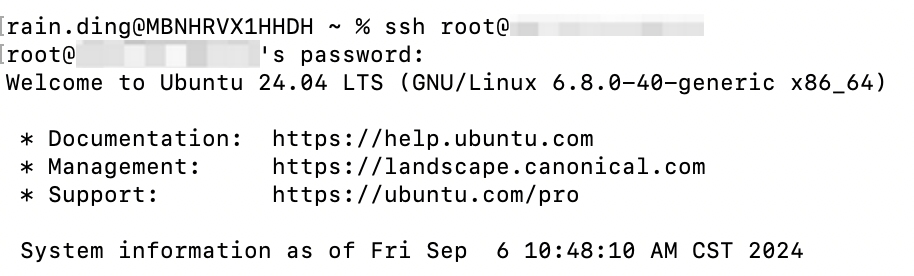
To connect to the server via SSH, I used the following command:
ssh root@{ipaddress}
Software and Middleware Installation
1. Apache
I installed Apache to serve the website:
sudo apt install apache2
I enabled and started Apache to ensure it runs on boot:
sudo systemctl start apache2
sudo systemctl enable apache2
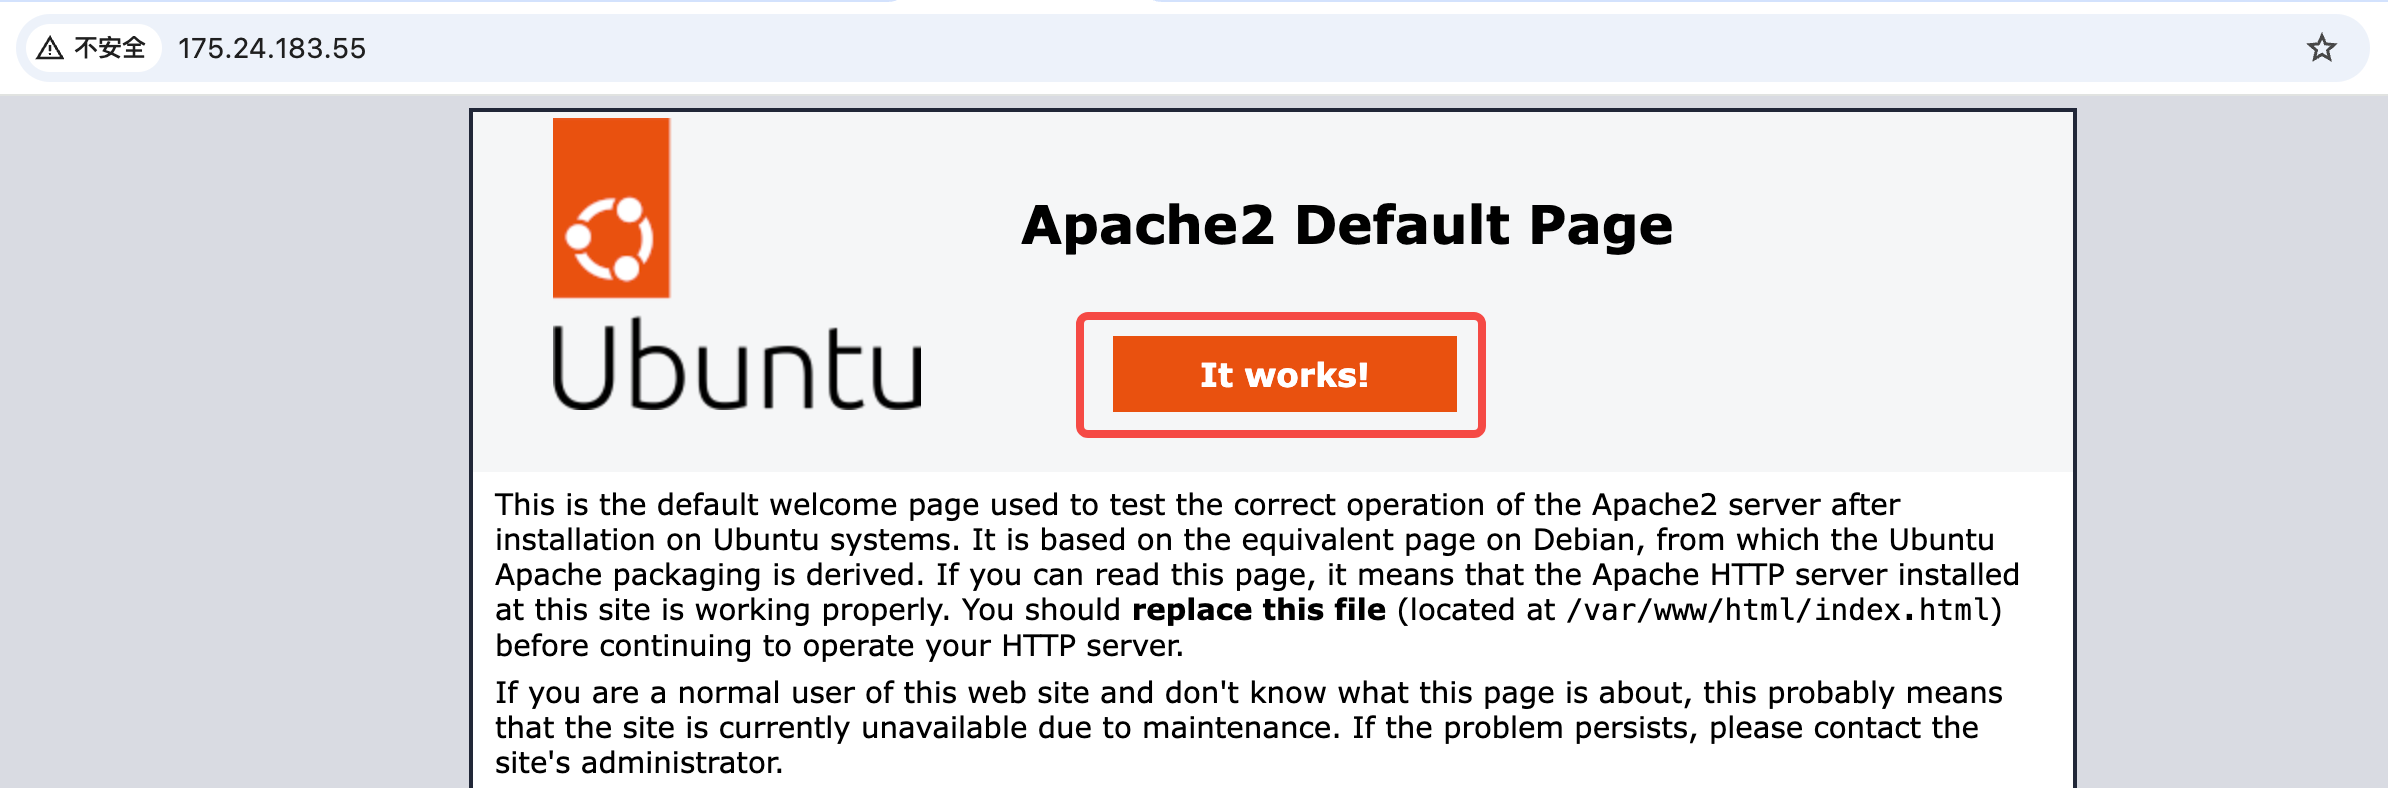
After that, I checked the server to confirm Apache was properly set up by accessing the server’s IP.
2. PHP
Next, I installed PHP along with necessary extensions:
sudo apt install php libapache2-mod-php php-mysql
sudo apt install php-dom php-zip
This setup was important for my file-sharing app, which relies on PHP extensions like dom and zip. After the installation, I restarted Apache:
sudo systemctl restart apache2
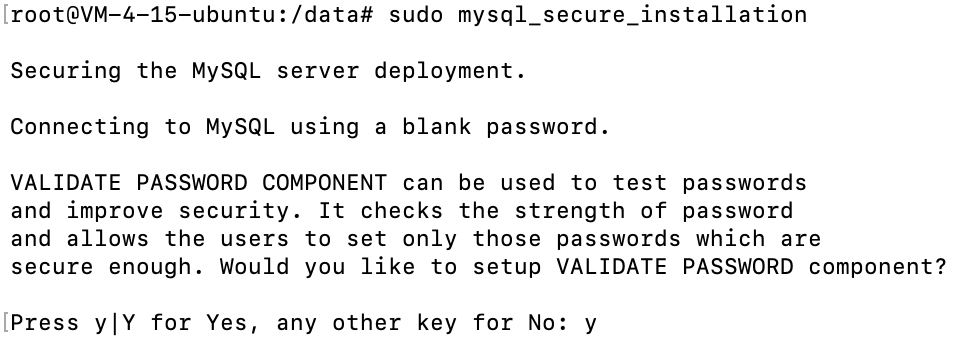
3. MySQL
For database management, I installed MySQL:
sudo apt install mysql-server
sudo mysql_secure_installation
4. Samba for File Sharing
I wanted to access the server’s folders from my Mac via SMB, so I installed Samba:
sudo apt install samba
sudo smbpasswd -a userid
Samba users must already exist on the Linux system, so I used the root account for this purpose.

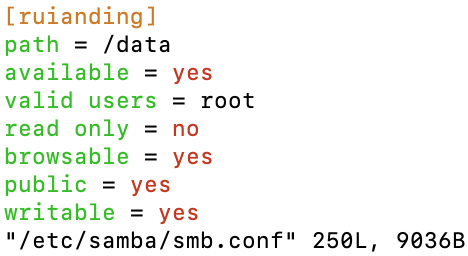
Then, I configured Samba:
sudo vi /etc/samba/smb.conf
Finally, I restarted Samba to apply the changes:
sudo systemctl restart smbd
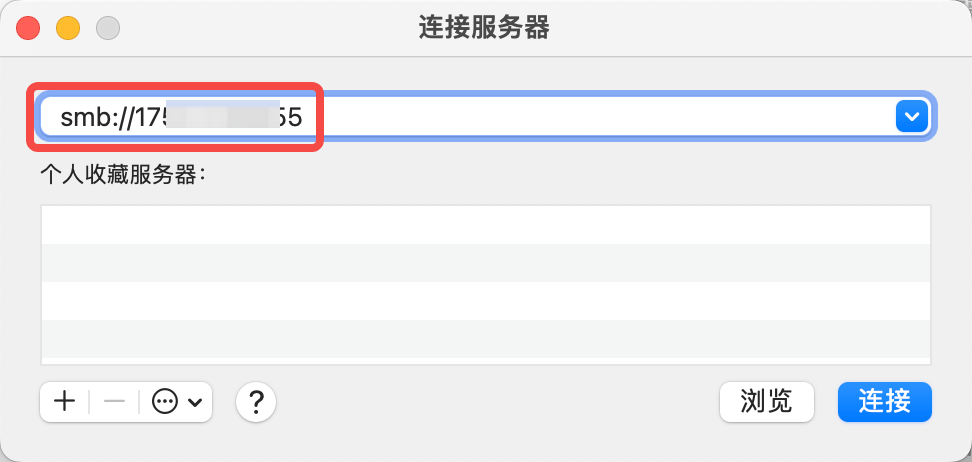
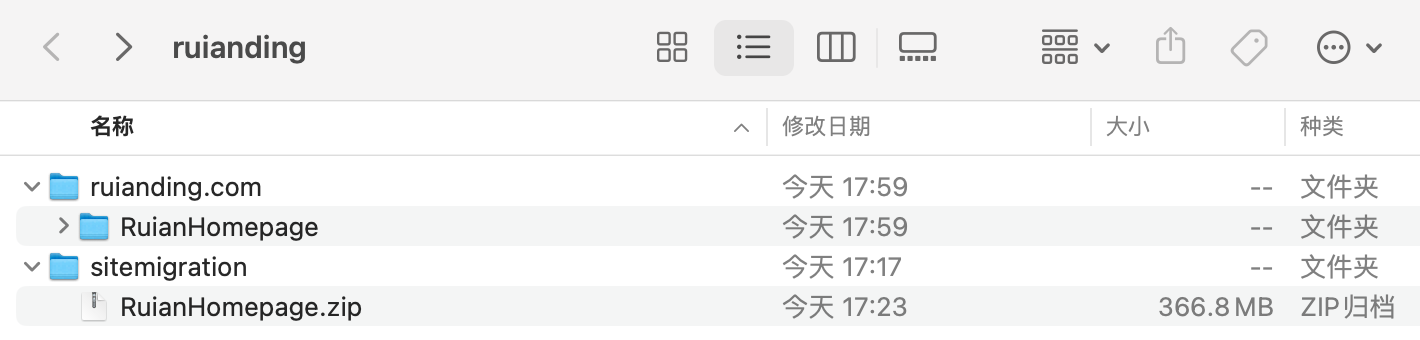
Now, I can easily access my server’s folders on my Mac using Finder.
This post covers the basic setup of my server, including Apache, PHP, MySQL, and Samba for file sharing. Everything is running smoothly, and the server is fully prepared for the next steps of my website migration.